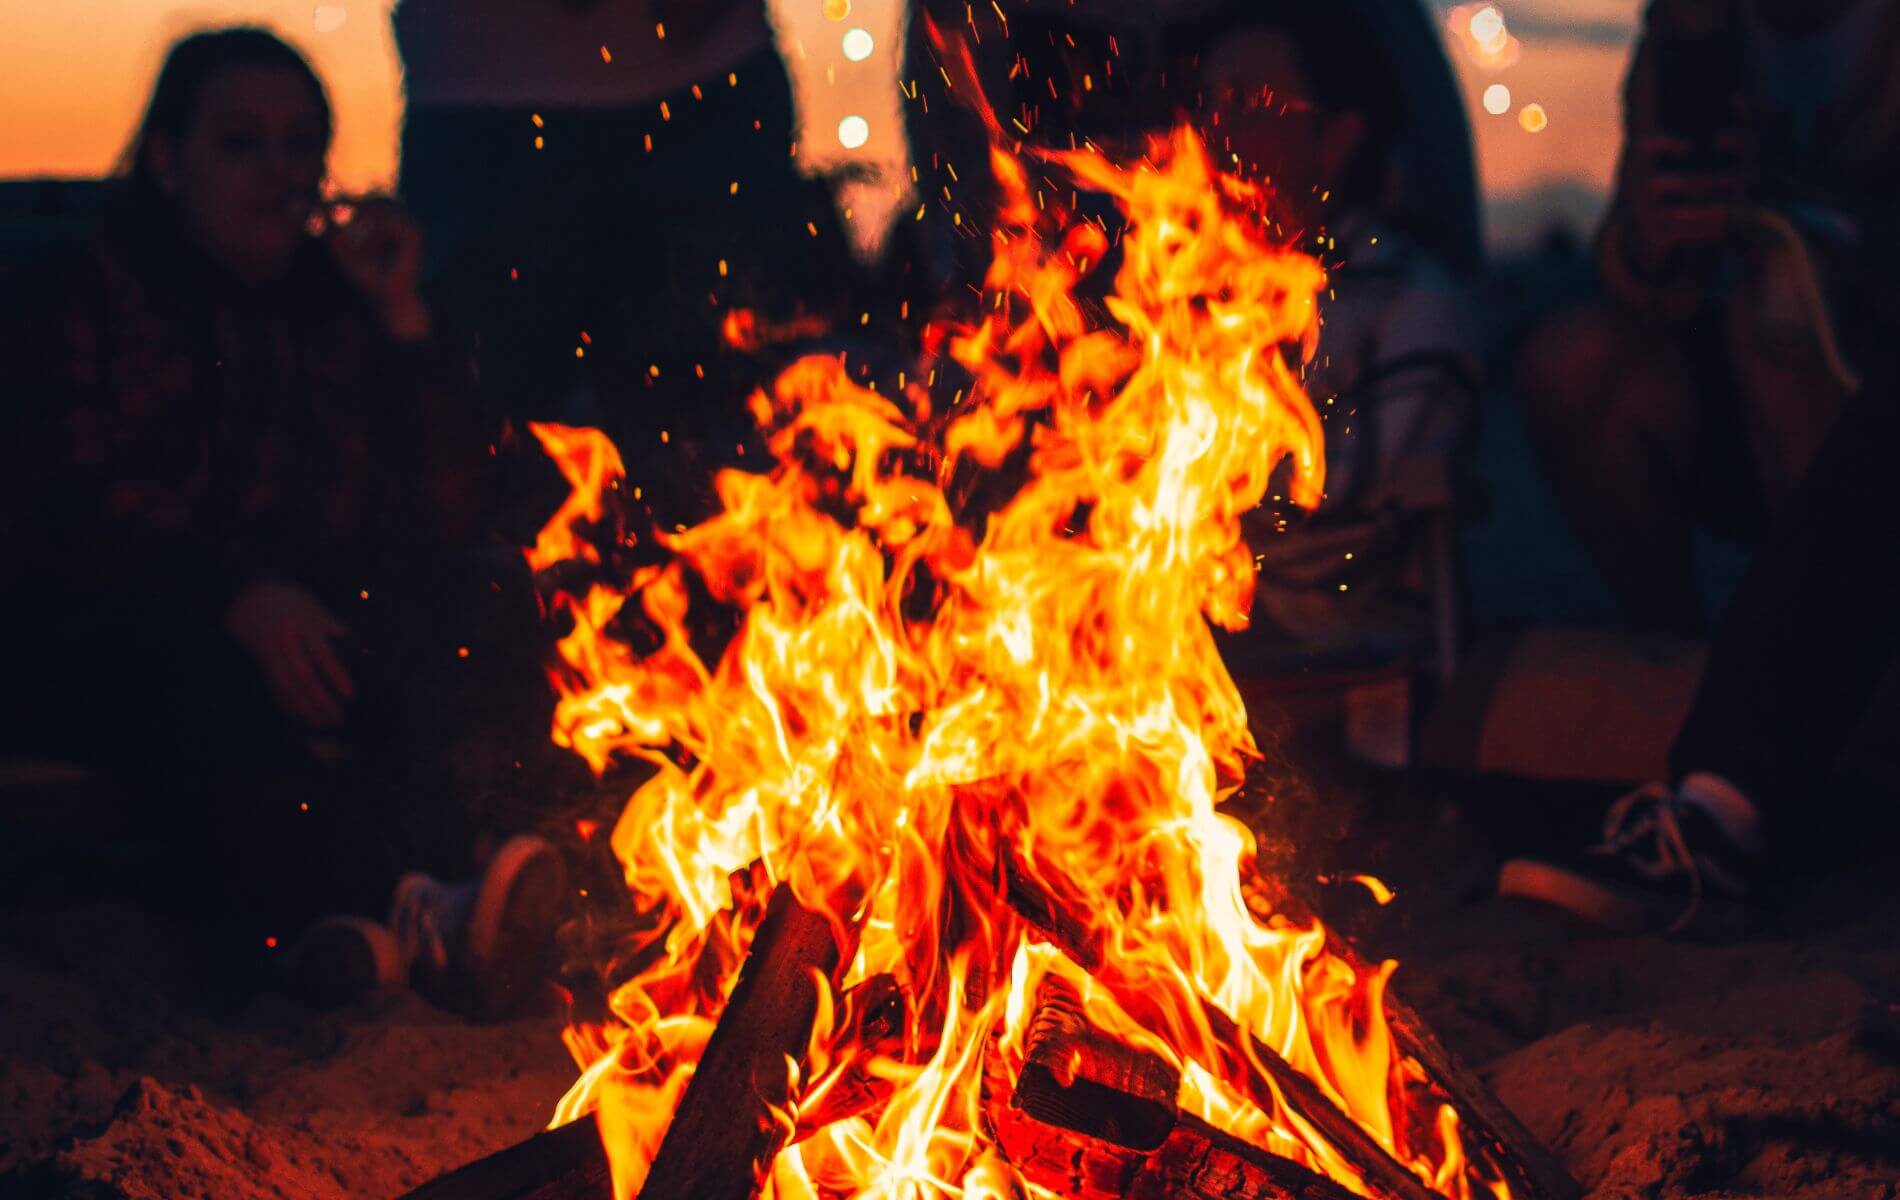
Whether you just got your thermomate fire pit or you need a refresher on the basics of smokeless fire, this guide is going to help you take steps to becoming the firemaster. The key to a relaxing night with friends and family in the backyard or somewhere is smokeless fire. Here’s your guide to maximizing your thermomate fire pit and the best practices for choosing your fuel, starting the fire, tending the fire, and putting it out. With these recommendations, you will be able to get a flawless blaze every time you light a fire.
Prefer to watch and learn? Here’s a video that shows everything you need to know to build the best fire.
Fuel
When choosing fuel for your fire, remember there are 3 categories of fuel: firestarter (tinder), kindling, and split cord wood (main fuel). Each of these fuel types contribute significantly to the overall health and performance of your fire throughout the burn. Using high quality, very dry materials is also important. The better the fire starter, the less important it is to have high quality kindling and cord wood, and the opposites are also true. For example, a really strong firestarter can help to make up for a slightly less than ideal kindling. That said, the best results will be achieved if all three elements are quality materials, dry, and split well.

Firstarter
The first thing you need is a good firestarter such as wax dipped tumbleweed or fatwood (resin-soaked pine) pieces. Shredded newspaper or cardboard will also work. Keep in mind that maximum airflow is what you want which is why we do not recommend crumpling newspaper into a tight ball. Using a natural firestarter is important in preventing carcinogens and a nasty gas flavor or smell permeating from your fire.
Kindling
Next, let’s talk about kindling. This is especially important for creating a bridge between the first spark and the roaring flames. Without good kindling, your fire will smolder out with a cloud of smoke. We recommend very dry softwoods split down between half an inch and 1.5” in diameter. Dried untreated 2”x4”s or anything similar will make great kindling, just make sure to split them down into small enough pieces.
Cord Wood
Lastly, you have your cord wood. This will be dried, split wood as small as 2” and no bigger than 4” in diameter. It’s extremely important that your cord wood, like your kindling, is thoroughly dried. Using kiln-dried wood that’s been stored out of the elements ensures you won’t have any issues with moisture but any other very dried hardwood will work also. If you’re planning to cook, hardwoods are ideal. You’ll also want to note that different types of wood produce different types of flames.
Starting Your Fire
Now that you’ve carefully selected your fuel, it’s time to get the fire going. When you’re in this stage of the process, it’s important to be on standby, ready for the next step to keep your fire going. Let’s get started.

Log Cabin Fire Lay
- Start off by creating a small teepee lay.
- Get large pieces of fuel wood and place them on opposite sides of the tepee.
- Find smaller pieces of fuel wood and lay them across the first set of fuel wood, parallel on the other sides of the tepee. Just like you would with Lincoln Logs.
- Repeat laying smaller and shorter pieces to form a cabin or pyramid shape.
- Light this baby up.
Light It Up
Using a grill lighter or a long match, light the firestarter at the bottom of the log cabin. We don’t recommend using matches, as they can be hazardous and are difficult to use when you’re reaching into the bottom of the fire pit.

Keep The Flame🌋
Once your kindling starts turning black and the fire begins licking up through the pieces, you can begin adding small pieces of cord wood. Avoid adding more than 2 pieces at one time as this may cause the fire to work harder and smoke. A better strategy is to add 1-2 pieces of wood at a time and keep the fire at a relatively consistent temperature and height throughout the burn. As you place your cord wood on the fire, your log cabin will begin to break apart. Continue adding wood to the perimeter of the fire when needed, making sure the wood is never above the fire pit rim. This part of the process takes a little practice of getting to know your fire and when the best time is to add wood.
Putting Out Your Fire🔥
The recommended method for putting out your fire is to let it burn out. This creates the least amount of ash which results in easy clean up. If you wish to leave your fire unattended, we recommend using a spark screen to protect the surrounding area from the possibility of sparks flying. After your ashes cool down, clean out your fire pit using tool.

Enjoy The Fire🔥
There you have it, The Ultimate Guide to building a smokeless fire! We hope that this article leads to a lifetime of smokeless fire gatherings with friends and family.


