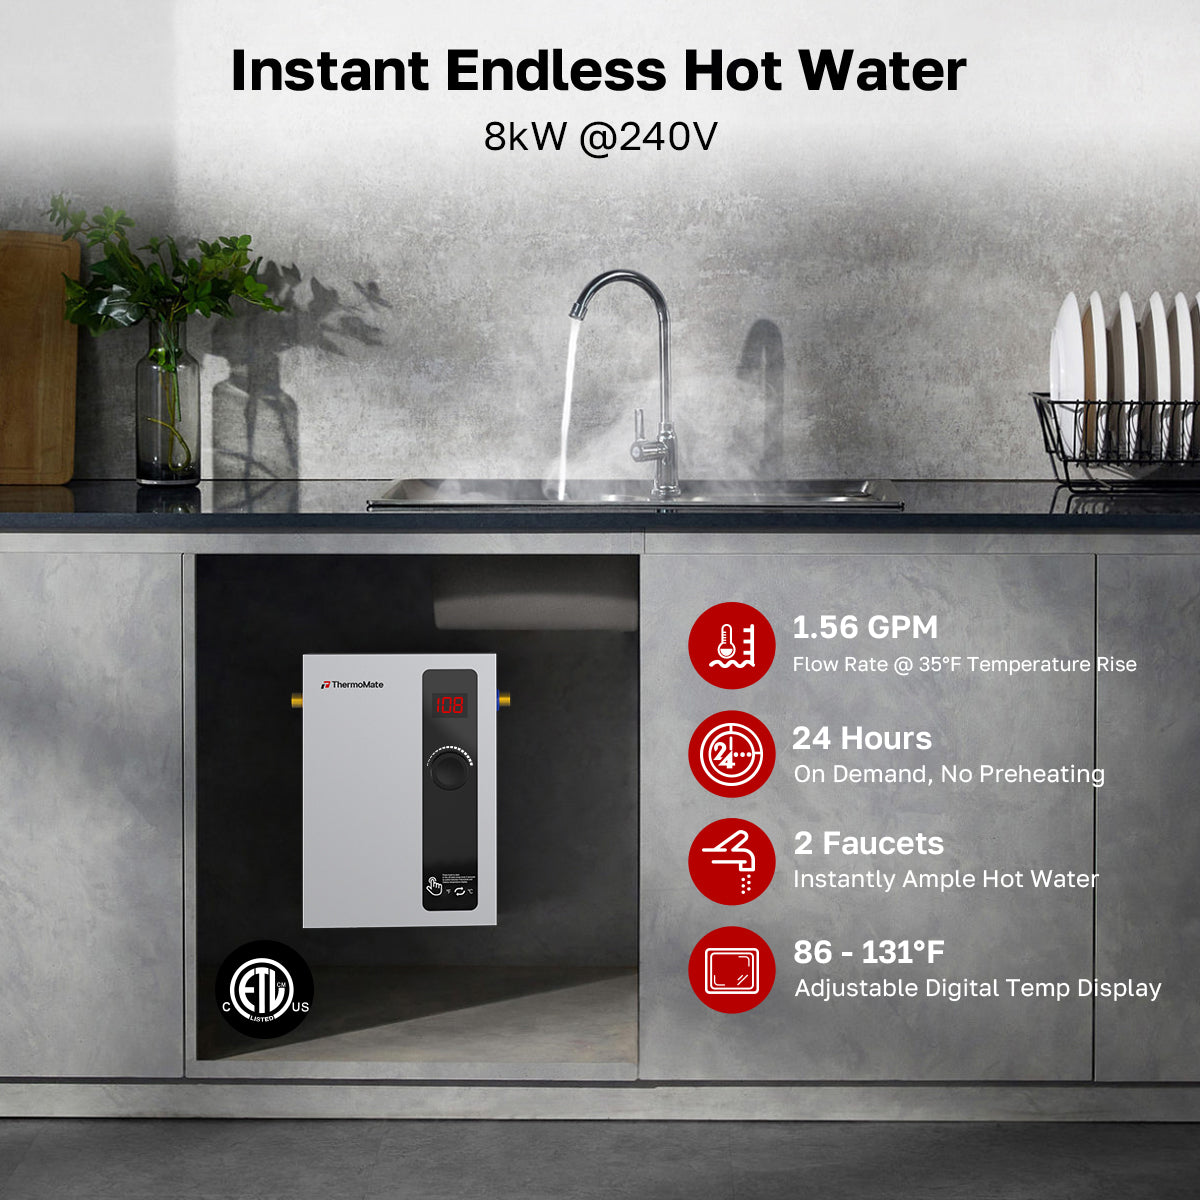
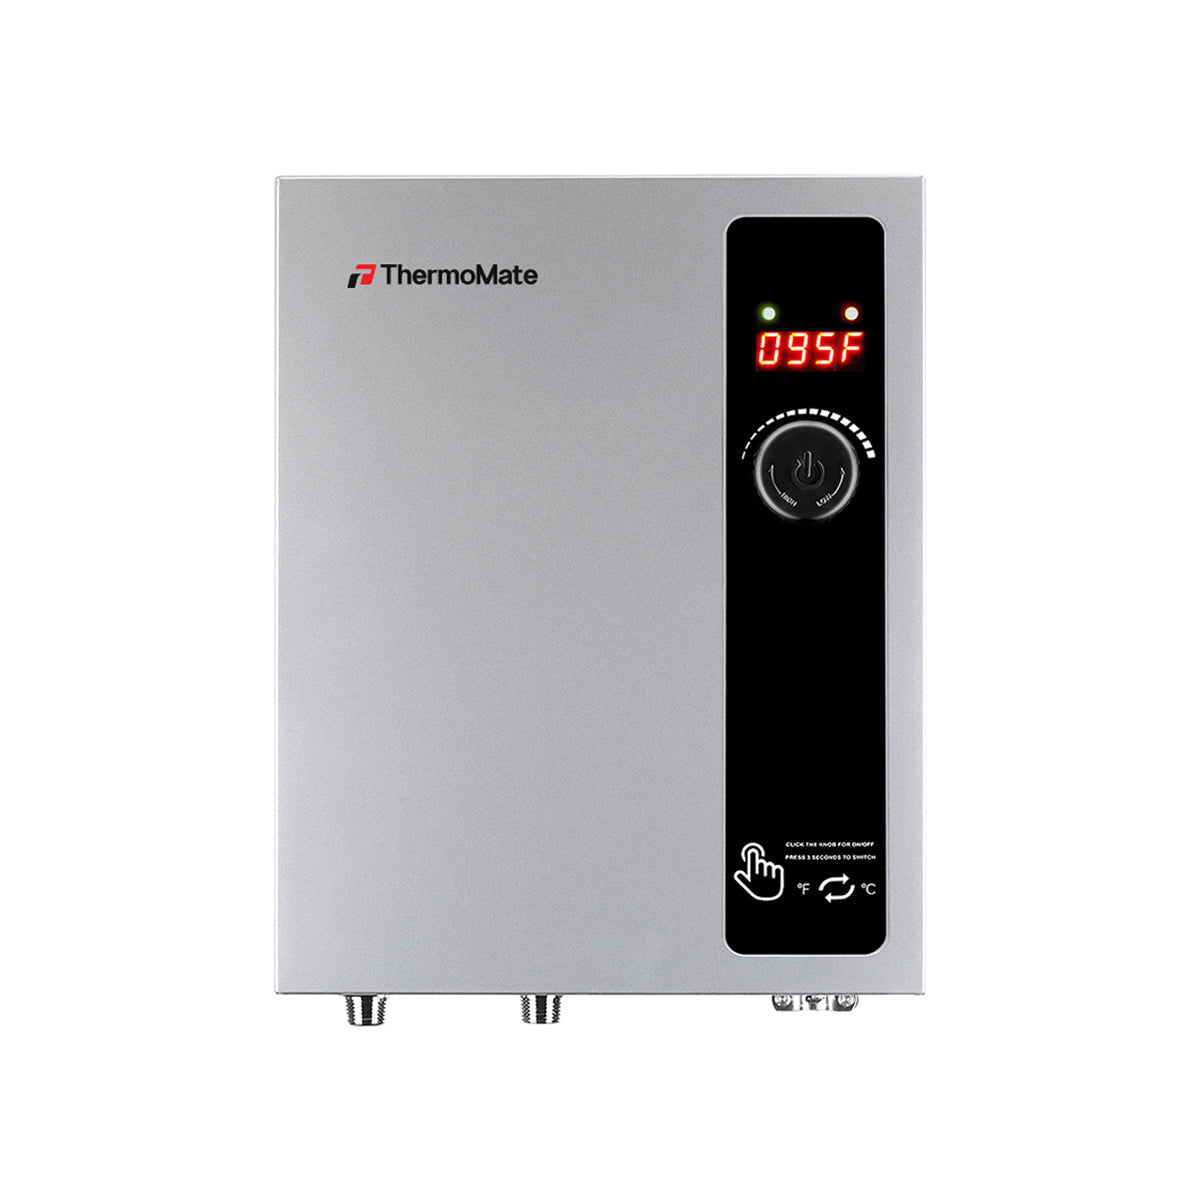
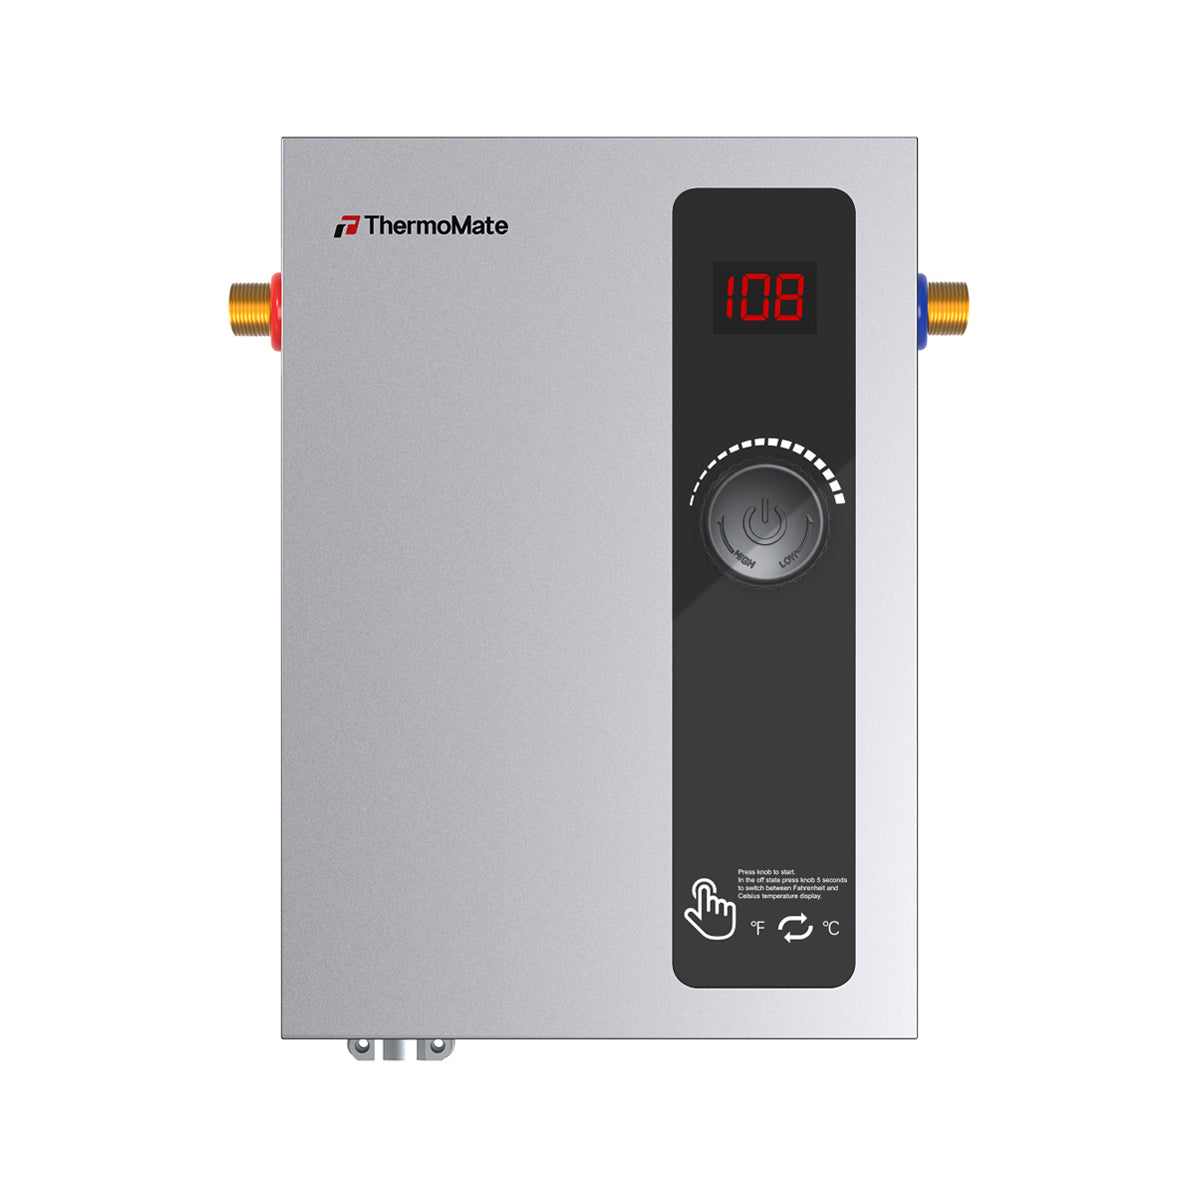
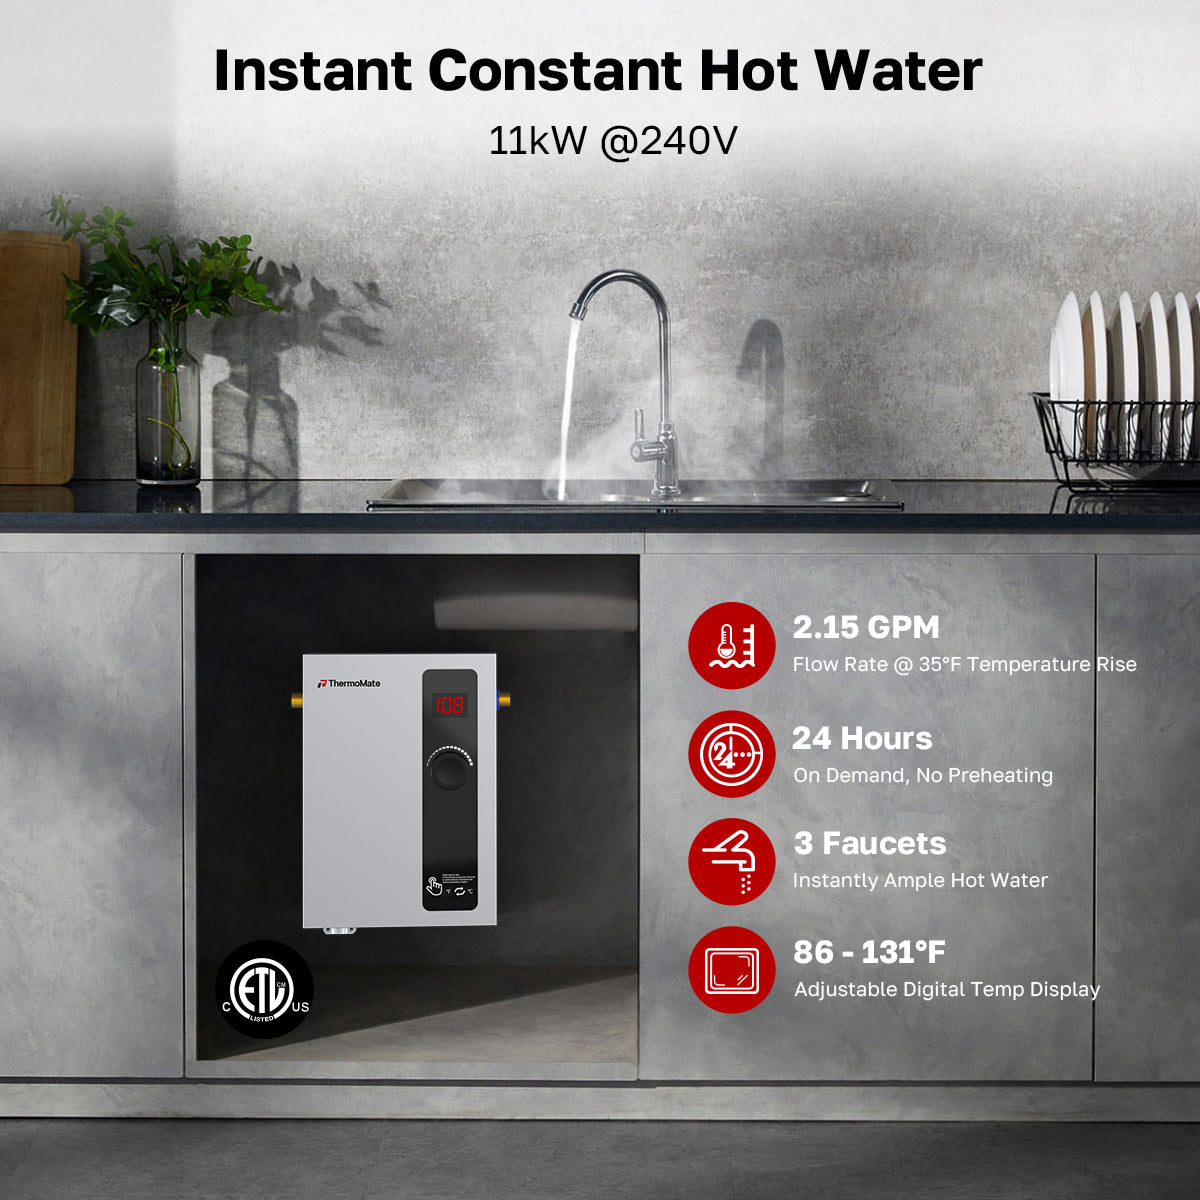
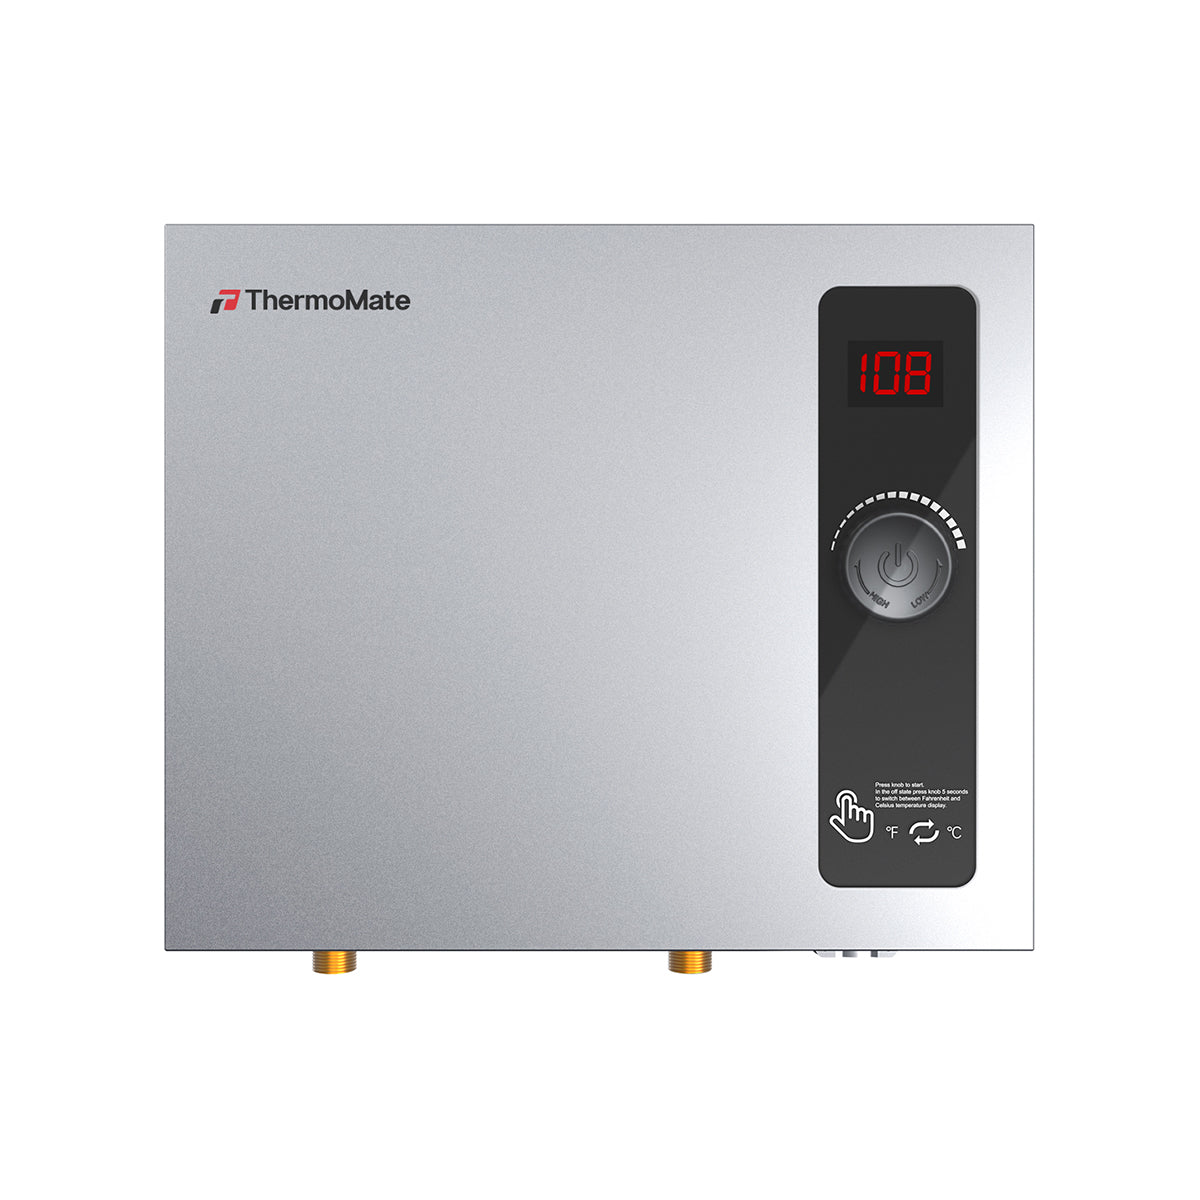
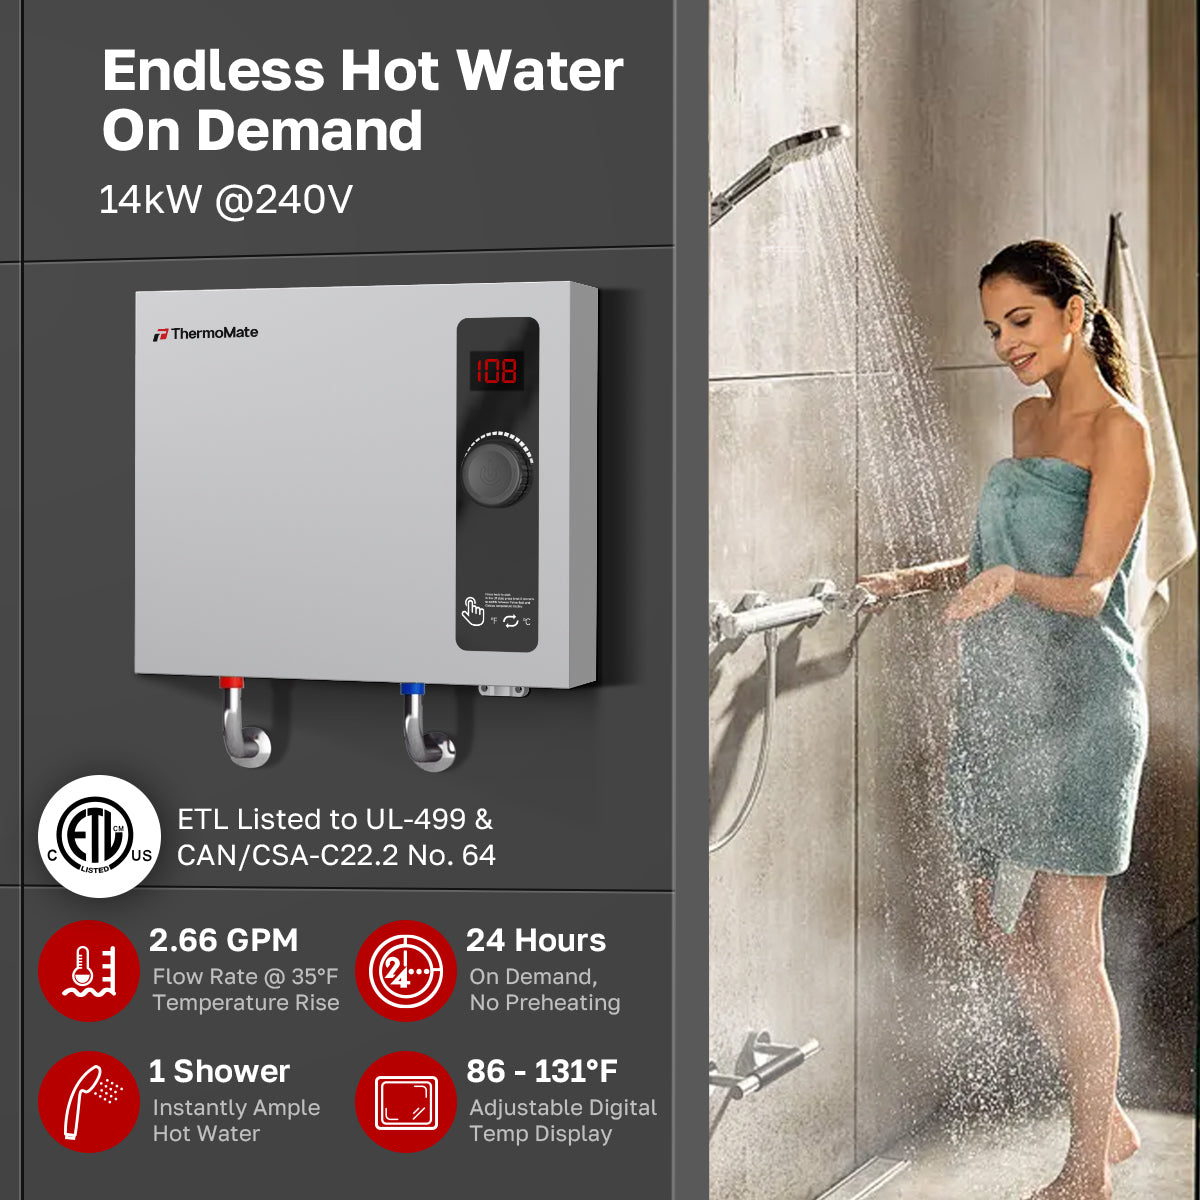
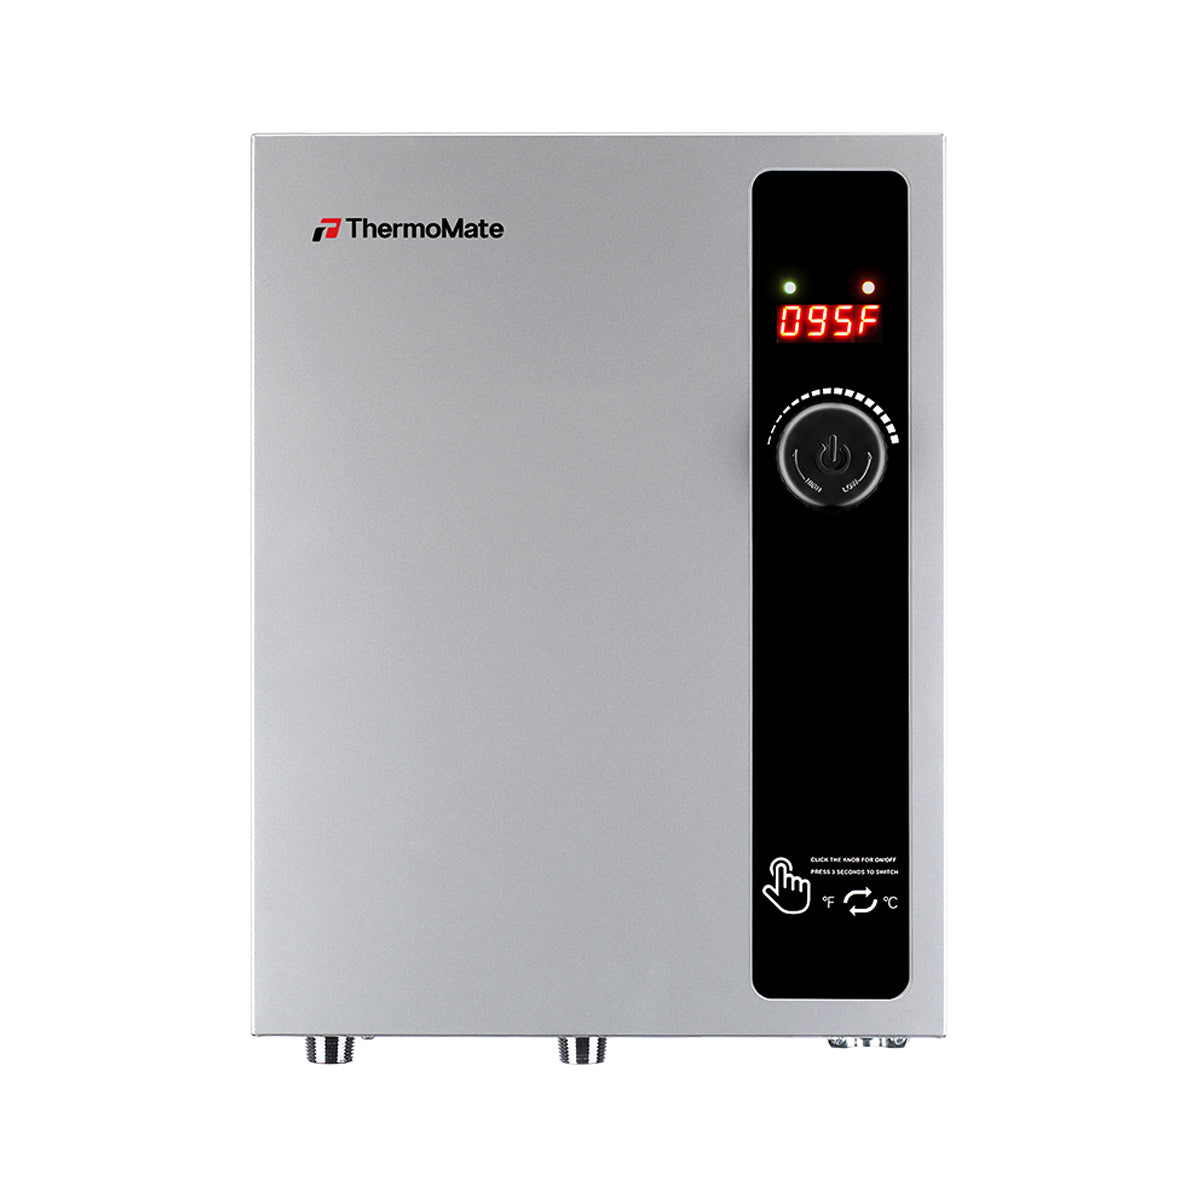
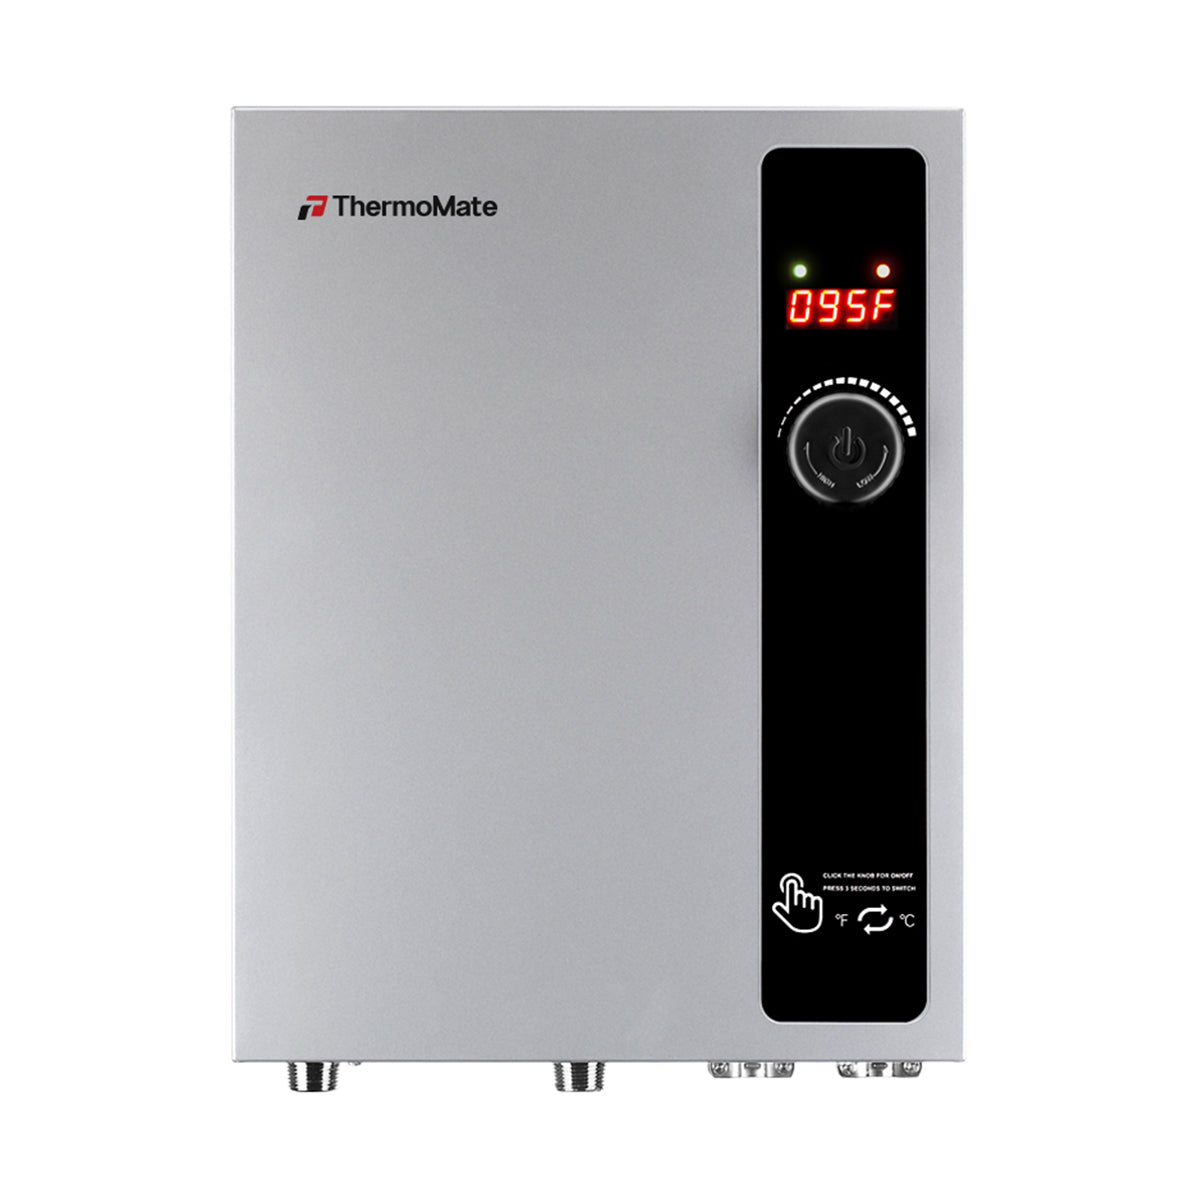
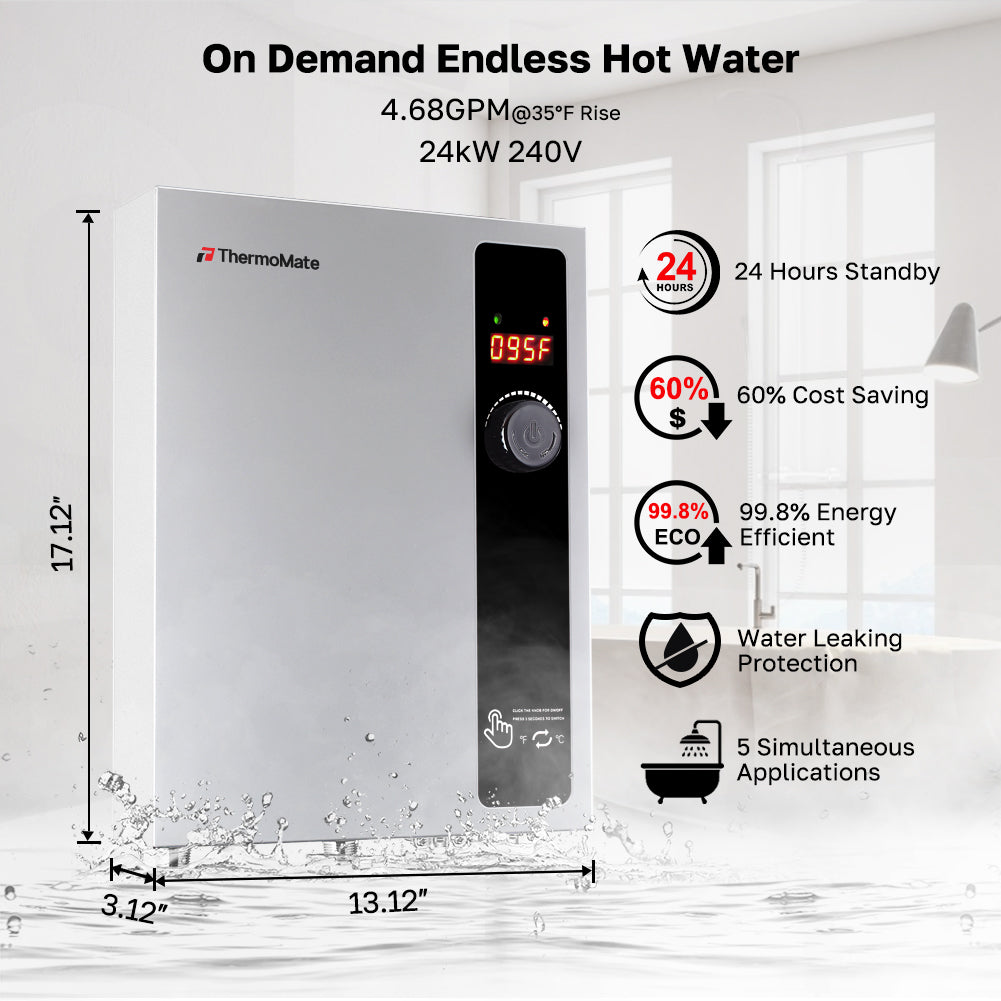
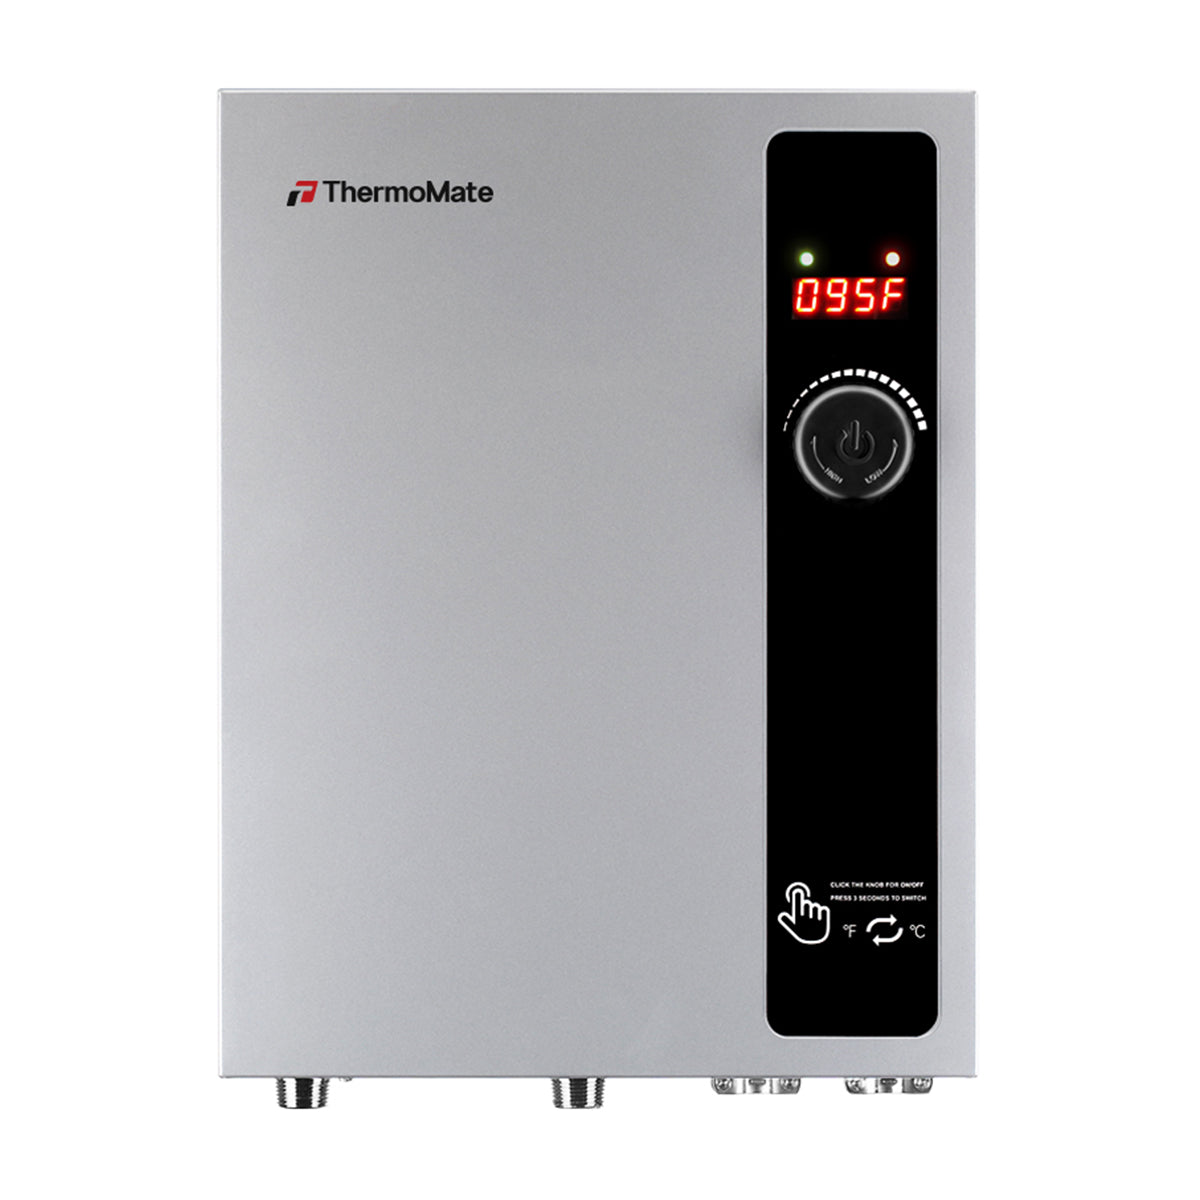
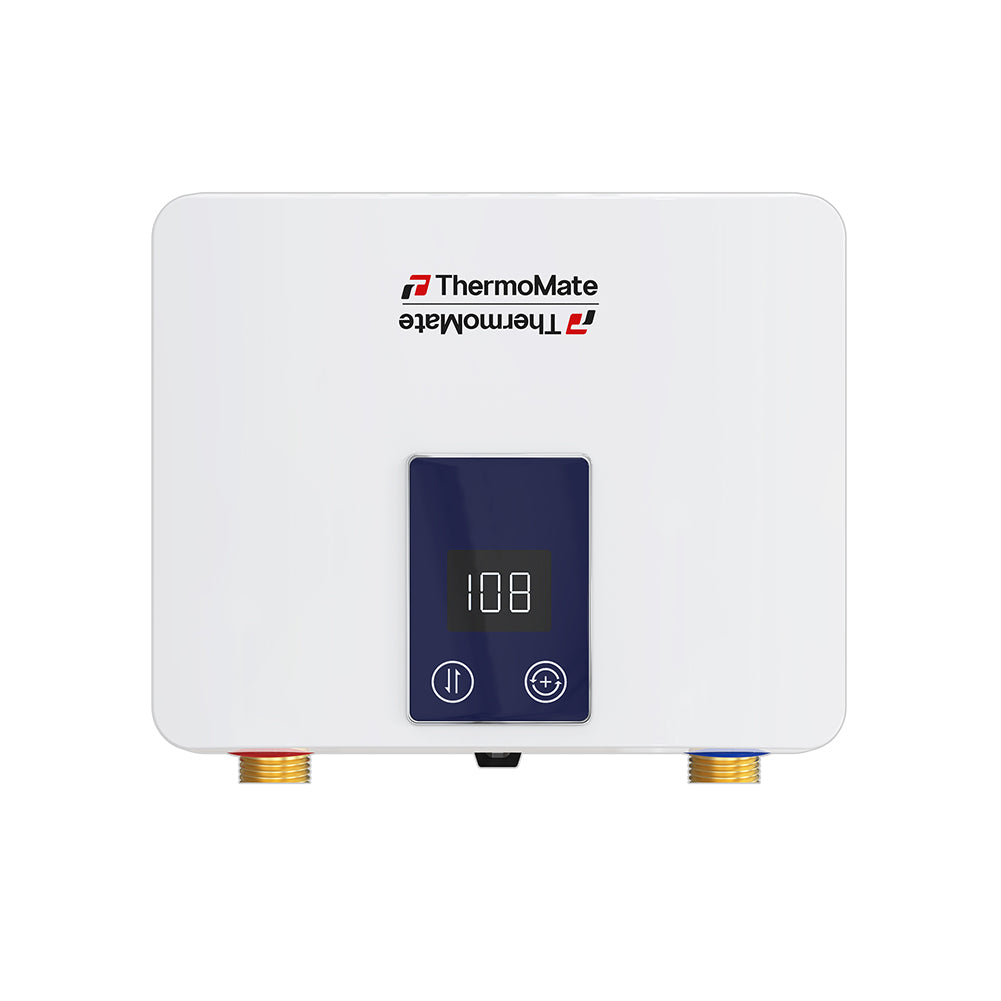
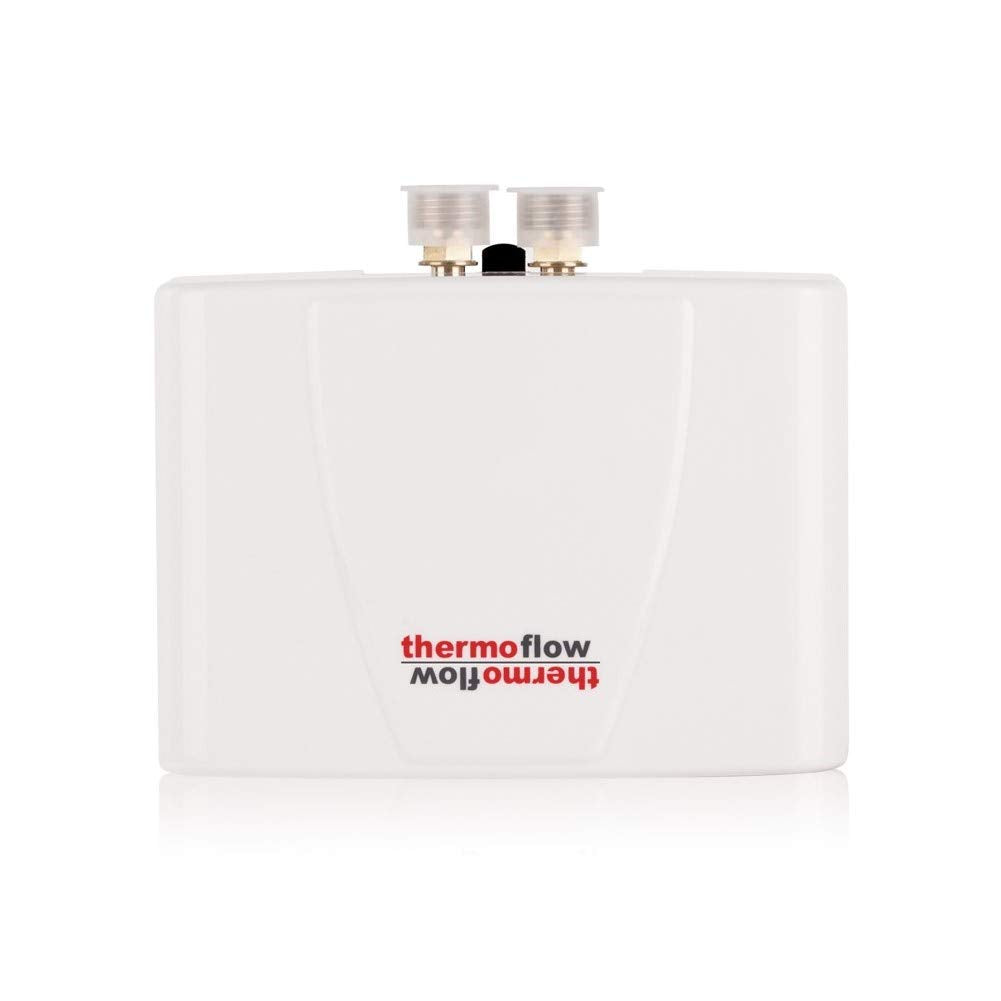
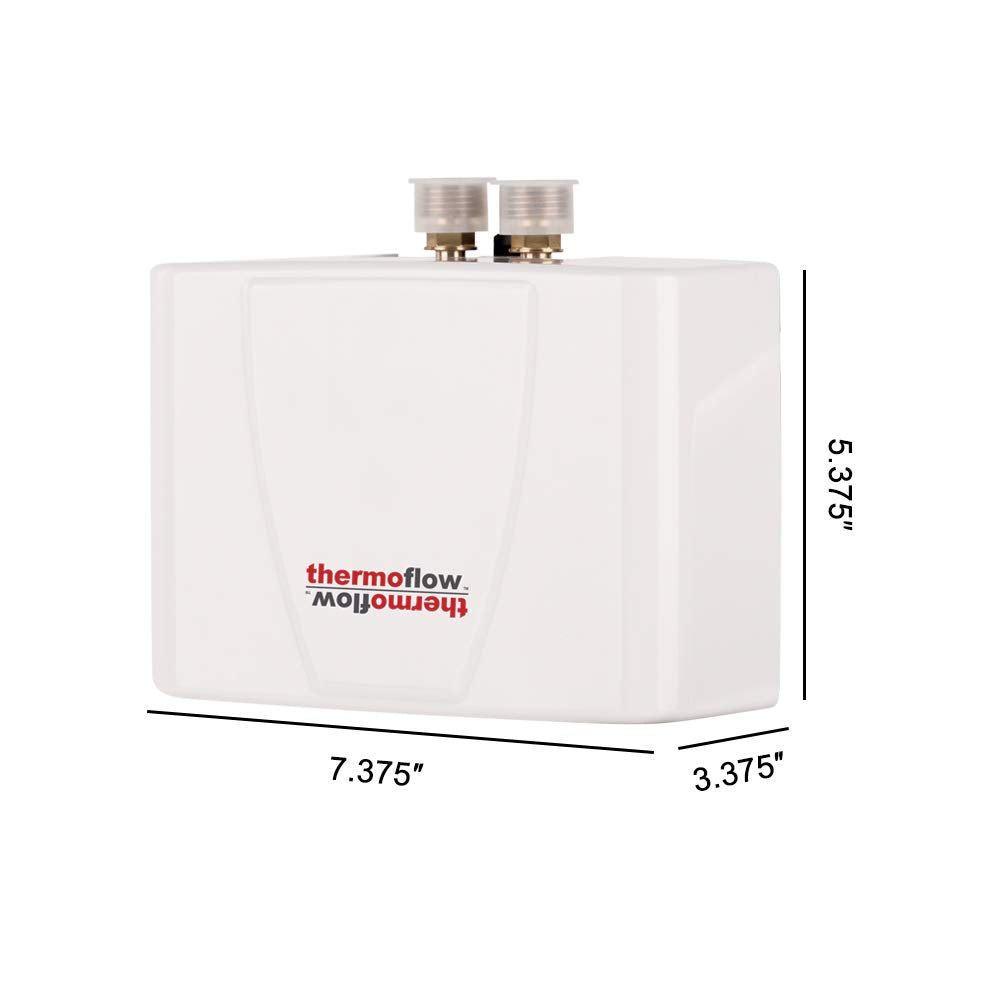
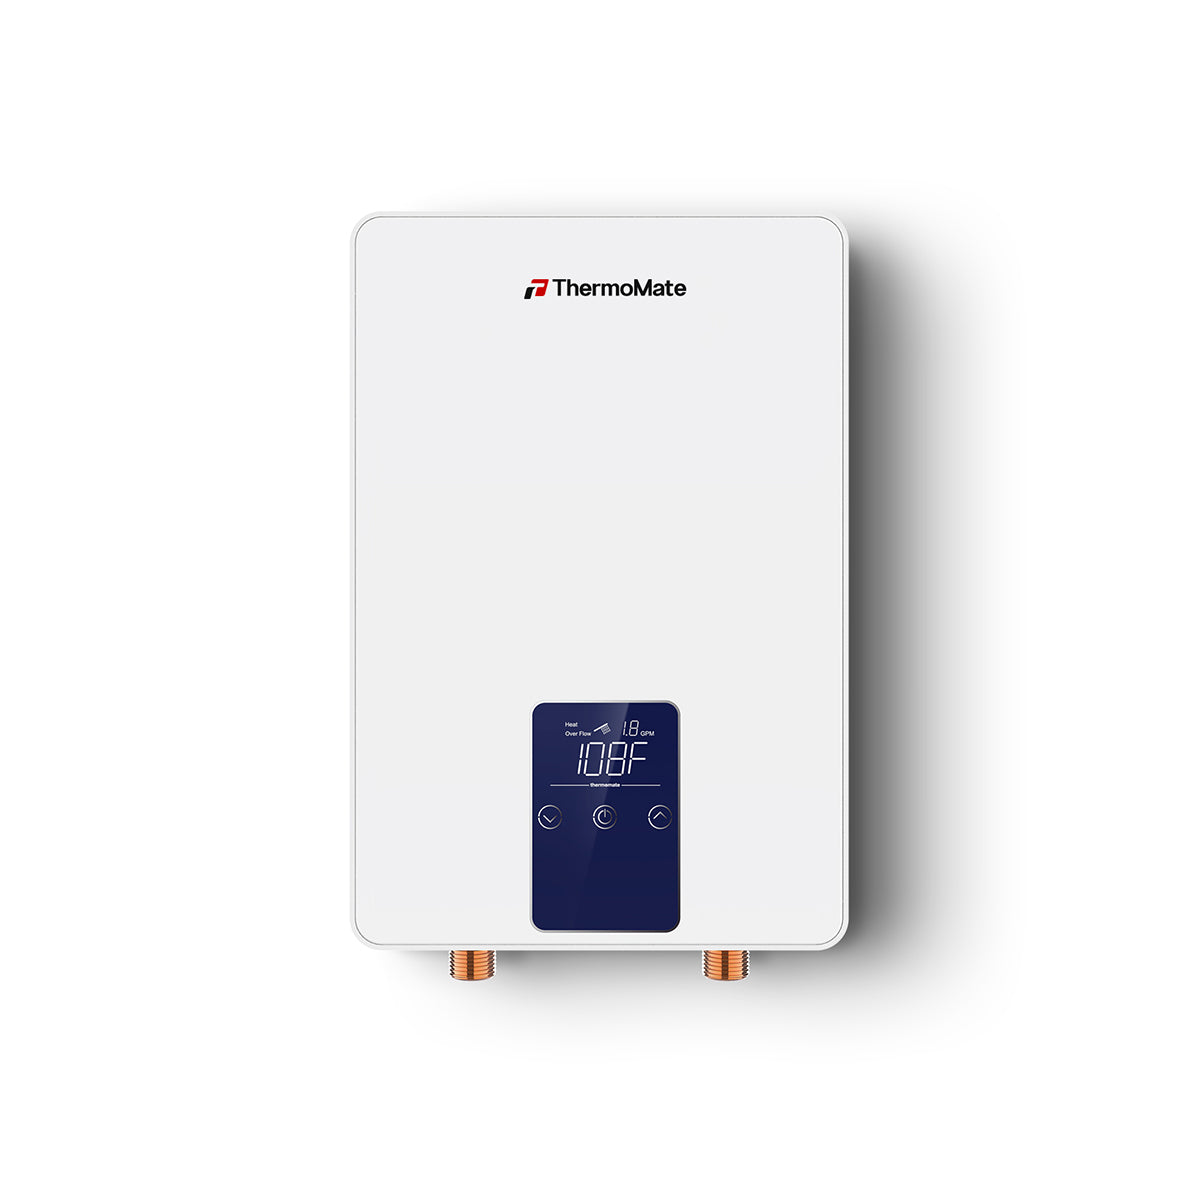
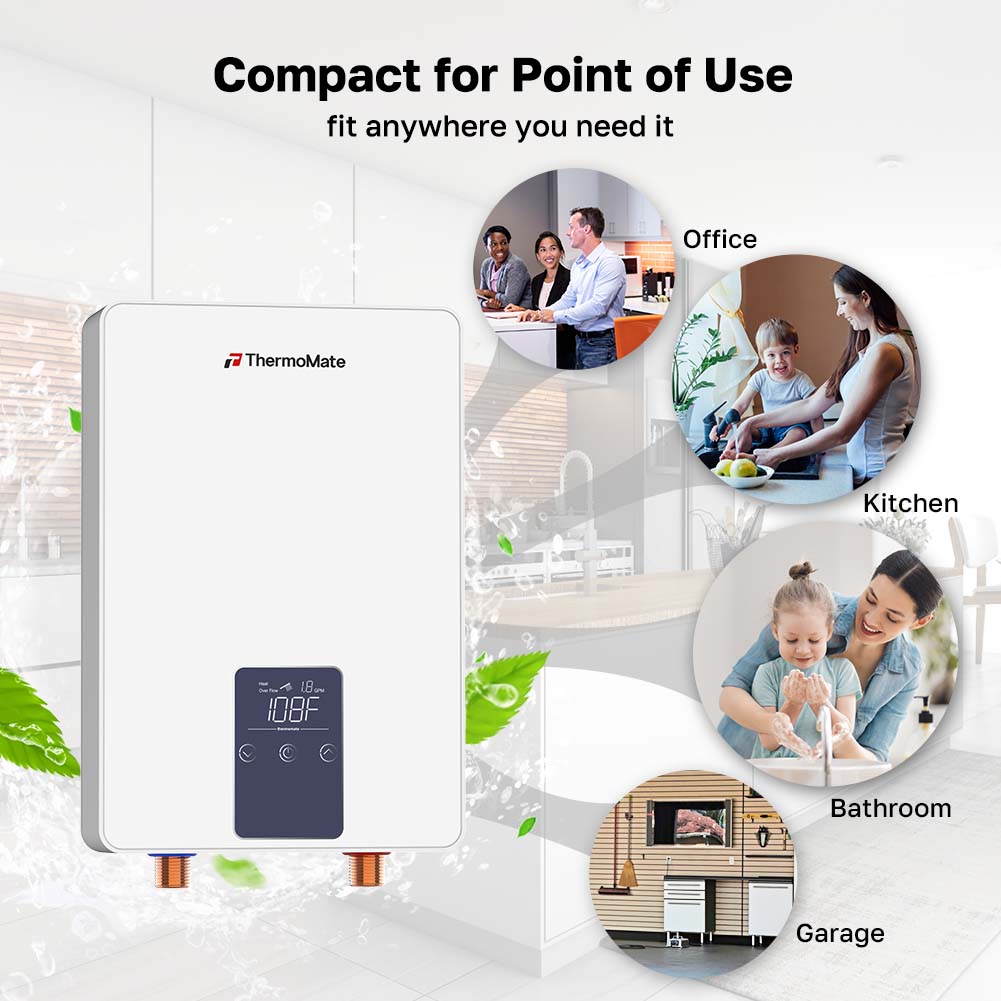
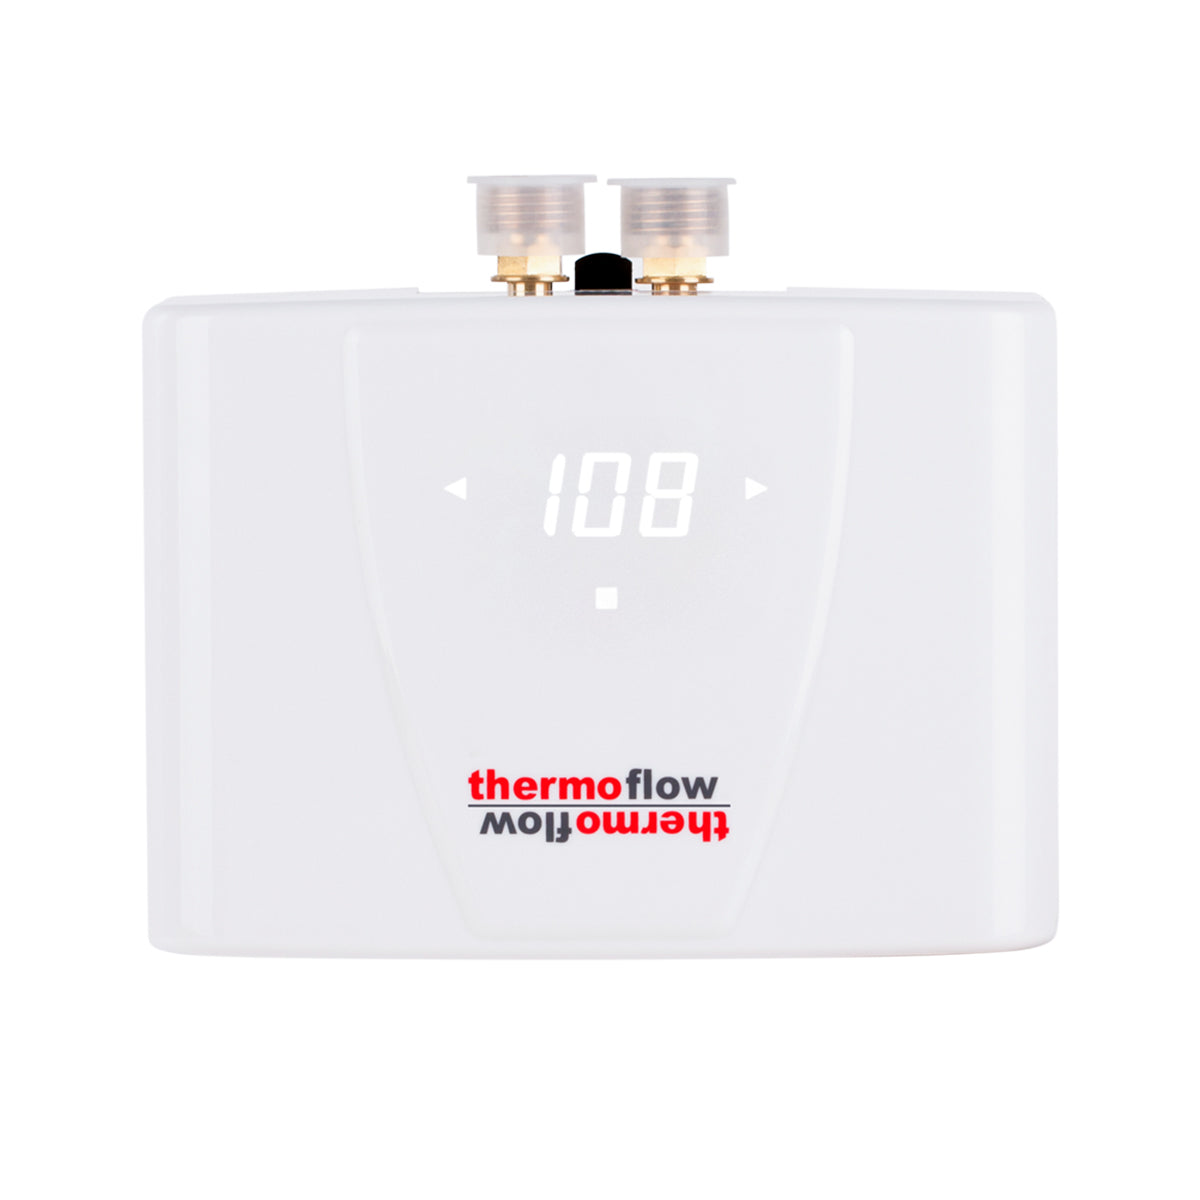
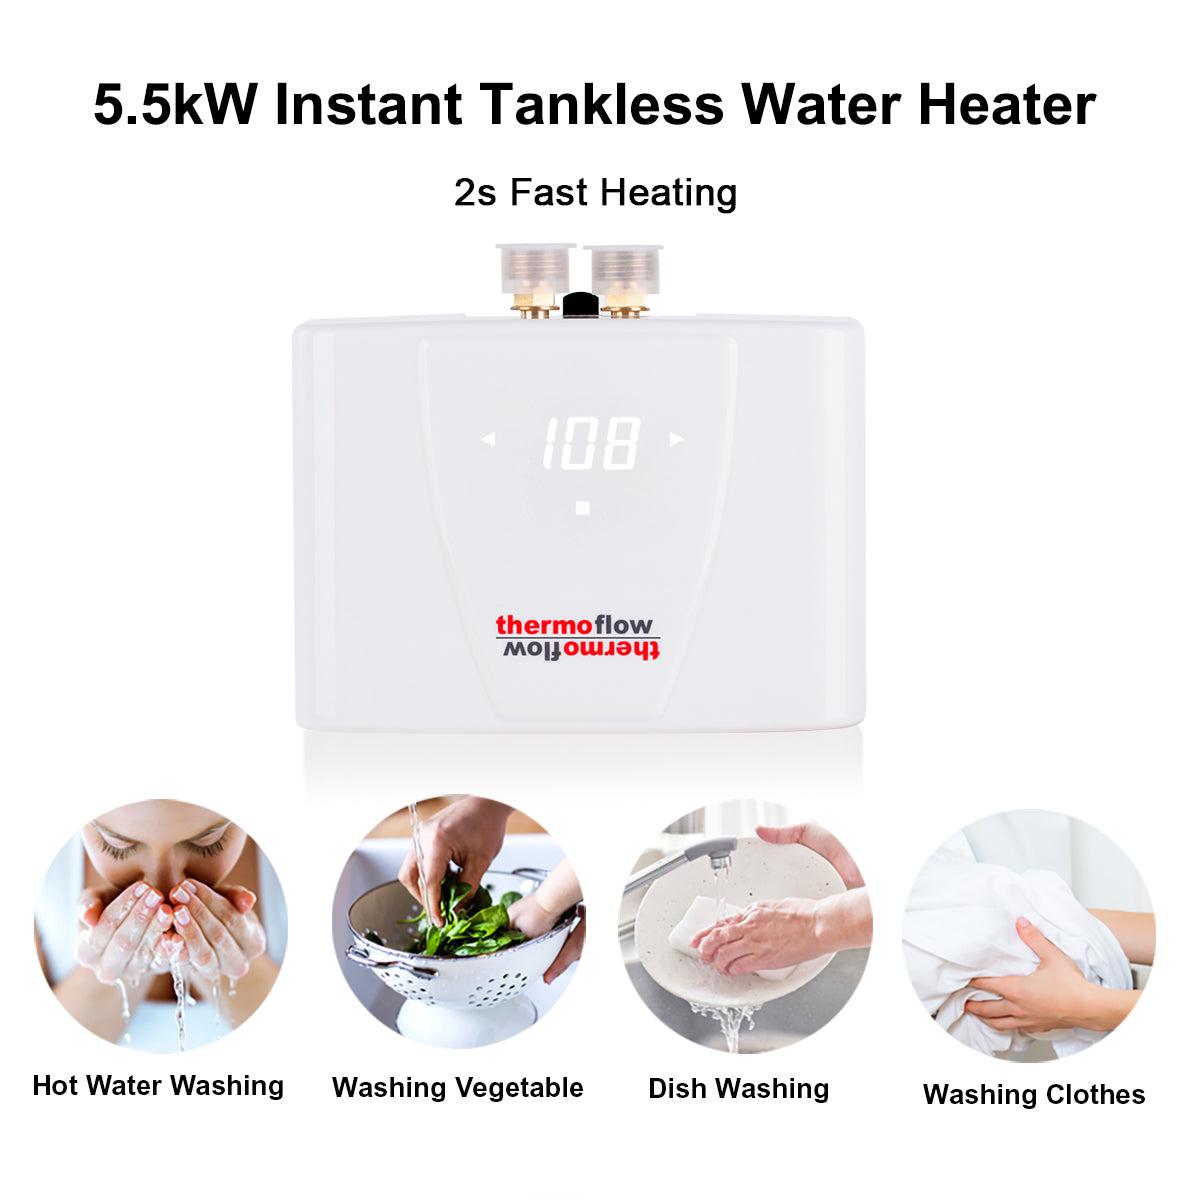
L'installation d'un mini-chauffe-eau sous évier est une solution simple et efficace pour chauffer l'eau dans certaines zones de votre maison. Cet article explique étape par étape l'installation et le fonctionnement d'un mini-chauffe-eau. Du choix du chauffe-eau adapté à son fonctionnement et à son entretien, vous découvrirez des informations précieuses sur cette solution pratique.
Points clés à retenir
- Une sélection appropriée du mini chauffe-eau à réservoir est essentielle pour des performances efficaces.
- La préparation de la zone d'installation garantit une installation sûre et pratique.
- Un montage sûr du chauffe-eau est essentiel pour un fonctionnement à long terme.
- Un raccordement soigné des conduites d’eau évite les fuites et assure un débit d’eau adéquat.
- La compréhension du câblage électrique et de l’alimentation électrique est essentielle pour un fonctionnement sûr et fiable.
1. Sélection du mini chauffe-eau à réservoir
Choisir le bon mini-chauffe-eau est crucial pour garantir son efficacité et sa longévité. Tenez compte de sa capacité, généralement comprise entre 2,5 et 6 gallons, pour vous assurer qu'il répond à vos besoins en eau chaude. Évaluez l'espace sous votre évier pour déterminer la taille adaptée à votre installation.
Lors du choix d'un modèle, tenez compte du taux de récupération, qui indique la vitesse de chauffe de l'eau. Les indices d'efficacité énergétique peuvent également vous guider vers un choix économique. Voici une comparaison rapide pour vous aider à choisir :
- Capacité : 2,5 gallons - Idéal pour les éviers simples
- Capacité : 4 gallons - Convient pour plusieurs éviers ou une petite douche
- Capacité : 6 gallons - Idéal pour les zones à forte utilisation

Assurez-vous que le produit que vous choisissez est accompagné d'une liste de colisage complète, comprenant une plaque de cuisson à induction, des kits de fixation et un manuel d'instructions. Veuillez noter que la livraison peut être limitée aux États-Unis continentaux et que les retours peuvent être soumis à une déduction de 20 % pour cause de regret de l'acheteur.
Enfin, vérifiez les options de garantie et d'assistance client pour protéger votre investissement. Une marque fiable vous assistera en cas de problème d'installation ou d'utilisation.
2. Préparation de la zone d'installation
Avant d'installer votre mini-chauffe-eau , il est essentiel de bien préparer la zone d'installation afin de garantir la sécurité et la conformité aux normes de construction locales. Assurez-vous que la zone est sèche, plane et proche des branchements électriques et de plomberie.
- Dégagez l’espace sous l’évier et retirez tous les éléments qui pourraient gêner le processus d’installation.
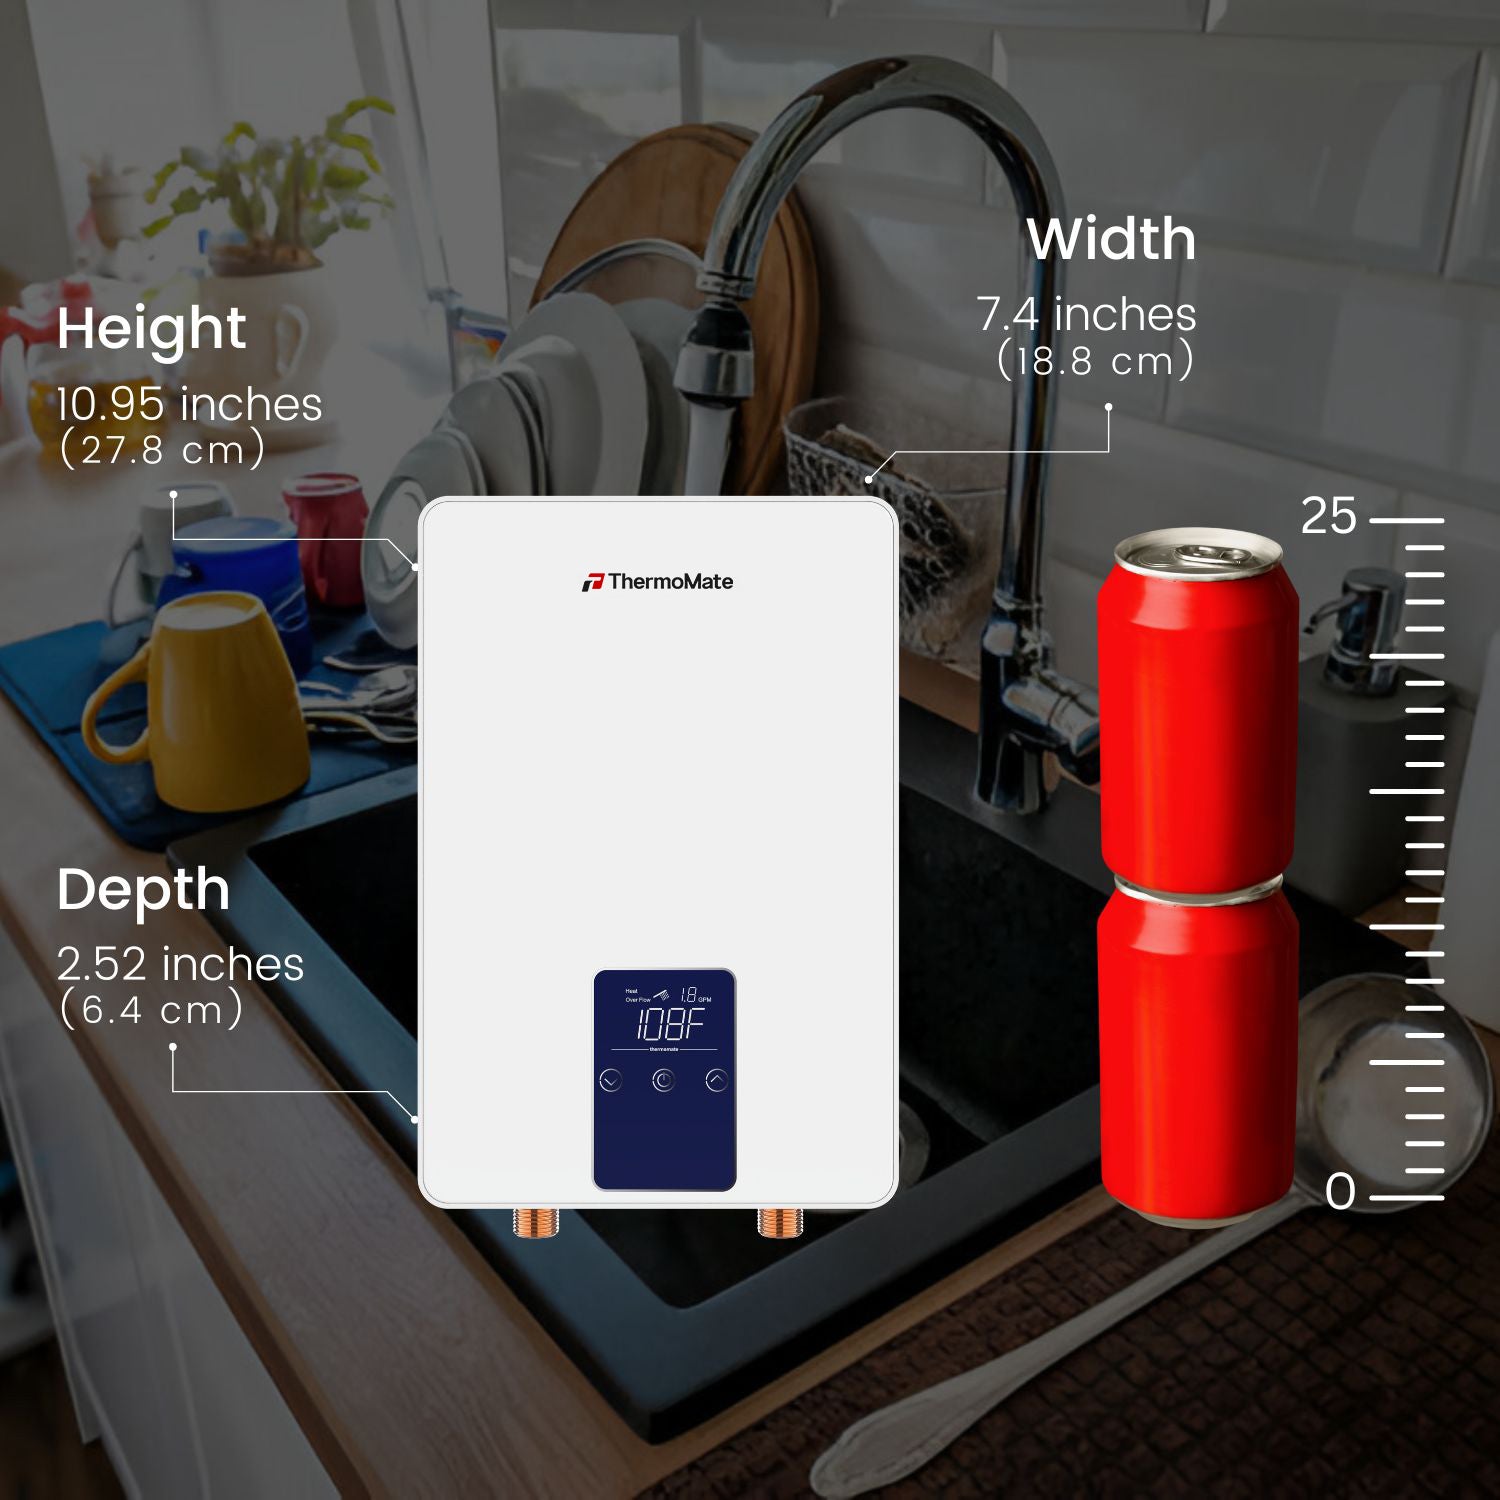
- Mesurez les dimensions de l’espace pour confirmer que le chauffe-eau s’adaptera.
- Vérifiez les prises électriques à proximité et assurez-vous qu’elles sont correctement mises à la terre.
- Inspectez l'état de la plomberie existante. Remplacez les composants usés si nécessaire.
Il est essentiel de vérifier que la zone d’installation est exempte de matériaux inflammables et dispose d’une ventilation adéquate.
Enfin, consultez le manuel du fabricant pour connaître les exigences spécifiques liées à la surface ou à l'environnement d'installation. Le respect de ces consignes contribuera à prévenir les problèmes et à prolonger la durée de vie de votre chauffe-eau.
3. Montage du chauffe-eau
Une fois la zone d'installation préparée, l'étape suivante consiste à fixer solidement le mini-chauffe-eau à réservoir. Assurez-vous que l'appareil est de niveau ; une installation inégale peut entraîner des problèmes de fonctionnement, voire des dommages.
- Localisez le support de montage ou les trous à l’arrière du chauffe-eau.
- Marquez les positions sur le mur où les vis ou les boulons seront placés.
- Percez des trous pilotes et fixez solidement le matériel de montage.
- Accrochez le chauffe-eau sur le support ou fixez-le directement au mur avec le matériel fourni.
Il est essentiel de suivre les instructions du fabricant pour le montage afin d'éviter tout danger potentiel et d'assurer la longévité de l'appareil.
Après le montage, vérifiez que le chauffe-eau est stable et qu'il y a suffisamment d'espace autour de lui pour une ventilation adéquate et un accès facile pour l'entretien futur.
4. Raccordement des conduites d'eau
Une fois le mini-chauffe-eau à réservoir solidement fixé, l'étape suivante consiste à raccorder les conduites d'eau. Cette opération consiste à raccorder les conduites d'alimentation en eau froide et de sortie d'eau chaude aux orifices correspondants du chauffe-eau.
- Tout d’abord, fermez l’alimentation en eau principale pour éviter toute fuite lors de l’installation.
- Ensuite, connectez la conduite d’alimentation en eau froide à l’orifice d’entrée du chauffe-eau.
- Ensuite, fixez la conduite de sortie d’eau chaude à l’orifice de sortie.
- Assurez-vous que toutes les connexions sont bien serrées et sécurisées pour éviter tout dégât des eaux potentiel.
Il est essentiel de vérifier l'absence de fuites une fois l'alimentation en eau rétablie. Une petite goutte peut entraîner des problèmes importants à long terme ; il est donc essentiel de remédier immédiatement à tout problème.
N'oubliez pas de suivre les instructions du fabricant pour votre modèle de chauffe-eau miniature, car les points de raccordement peuvent varier. Si vous n'êtes pas sûr de pouvoir raccorder les conduites d'eau en toute sécurité, il est conseillé de faire appel à un professionnel.
5. Câblage électrique et alimentation électrique
Une fois le chauffe-eau solidement fixé et les conduites d'eau raccordées, l'étape suivante consiste à effectuer les branchements électriques. Assurez-vous que l'alimentation électrique correspond aux exigences de votre mini-chauffe-eau à réservoir . Cela implique généralement de connecter le chauffe-eau à un circuit dédié de 120 V ou 240 V, selon le modèle.
- Coupez l’alimentation électrique principale avant de commencer tout travail électrique.
- Connectez le fil de terre à la vis de terre verte du chauffe-eau.
- Fixez les fils chauds (noirs) et neutres (blancs) aux bornes correspondantes.
- Fixez toutes les connexions avec des écrous de fil et assurez-vous qu'ils sont bien serrés et exempts de corrosion.
Il est essentiel de suivre les instructions du fabricant et les codes électriques locaux pour éviter tout danger. Une installation professionnelle est recommandée si vous n'êtes pas familier avec les systèmes électriques.
Une fois le câblage terminé, rétablissez soigneusement le courant et vérifiez son bon fonctionnement. Inspectez régulièrement vos connexions électriques dans le cadre de l'entretien courant pour garantir sécurité et efficacité.
6. Fonctionnement du mini chauffe-eau à réservoir
Une fois votre mini-chauffe-eau installé, son utilisation est simple. Assurez-vous que l'appareil est rempli d'eau avant de le mettre sous tension afin d'éviter d'endommager l'élément chauffant. Réglez le thermostat à la température souhaitée ; la plupart des appareils ont une plage de température comprise entre 10 et 60 °C.
Pour des performances optimales, vérifiez régulièrement la soupape de surpression et la température de l'eau. Il est important de consulter le manuel d'utilisation de votre modèle pour obtenir des instructions d'utilisation détaillées.
N'oubliez pas que la sécurité est primordiale lorsque vous manipulez des appareils électriques. Suivez toujours les instructions du fabricant et les réglementations locales pour une utilisation en toute sécurité.
Voici une liste de contrôle rapide à garder à l’esprit :
- Vérifiez que le chauffe-eau est correctement monté et fixé.
- Vérifiez toutes les connexions pour détecter les fuites.
- Assurez-vous que l’alimentation électrique correspond aux exigences du radiateur.
- Inspectez régulièrement l’appareil pour détecter tout signe d’usure ou de dommage.
7. Conseils d'entretien et de sécurité
Un entretien régulier est essentiel à la longévité et au bon fonctionnement de votre mini-chauffe-eau sous évier. Vérifiez régulièrement l'absence de fuite ou de corrosion et réparez-les rapidement pour éviter les dégâts des eaux et autres dangers potentiels.
- Inspectez l’élément chauffant et le thermostat tous les six mois pour vous assurer qu’ils fonctionnent correctement.
- Vidangez et rincez le réservoir chaque année pour éliminer les sédiments qui peuvent affecter les performances.
- Testez périodiquement la soupape de surpression pour confirmer qu'elle fonctionne correctement.
N'oubliez pas que la sécurité est primordiale lorsque vous manipulez des appareils électriques. Suivez toujours les directives du fabricant et les réglementations locales en matière d'entretien et de réparation.
Si vous n'êtes pas à l'aise avec les tâches d'entretien, envisagez de faire appel à un professionnel. N'oubliez pas que faire appel à un électricien certifié CSA garantit le respect des normes de sécurité, notamment pour les composants tels que l'élément chauffant ou le câblage électrique.
Assurer la longévité et la sécurité de vos appareils est primordial. C'est pourquoi nous avons compilé une liste complète de conseils d'entretien et de sécurité pour vous aider à tirer le meilleur parti de vos produits. Pour des guides détaillés, des conseils d'experts et pour profiter de nos offres exclusives et de notre garantie, consultez la section Assistance de notre site web. Ne manquez pas l'occasion d'améliorer votre expérience produit ; cliquez pour accéder à toutes les ressources dont vous avez besoin !
Conclusion
En conclusion, l'installation d'un mini-chauffe-eau sous évier est un moyen simple et efficace de chauffer l'eau dans certaines pièces de votre maison. En suivant les 5 étapes simples décrites dans cet article, vous pourrez profiter du confort et de l'efficacité d'un mini-chauffe-eau. Comprendre son fonctionnement et ses avantages vous aidera à prendre une décision éclairée quant à l'intégration de cette technologie dans votre maison. Que ce soit pour la cuisine, la salle de bain ou toute autre pièce, un mini-chauffe-eau électrique sous évier peut améliorer considérablement votre confort au quotidien. Faites le premier pas vers une maison plus efficace et plus confortable en envisageant l'installation d'un mini-chauffe-eau dès aujourd'hui.
Questions fréquemment posées
Quels sont les avantages d’installer un mini chauffe-eau à réservoir sous l’évier ?
L'installation d'un mini-chauffe-eau sous l'évier fournit de l'eau chaude là où vous en avez besoin, réduisant ainsi le temps d'attente et le gaspillage d'eau. Il permet également d'économiser de l'énergie par rapport à un chauffe-eau domestique.
Puis-je installer moi-même un mini chauffe-eau à réservoir ou ai-je besoin d’un professionnel ?
L'installation d'un mini-chauffe-eau à réservoir peut généralement être réalisée par un bricoleur possédant des compétences de base en plomberie et en électricité. Cependant, il est important de suivre les instructions du fabricant et les codes du bâtiment locaux pour garantir la sécurité et la conformité.
De quelle taille de mini-chauffe-eau ai-je besoin pour mon installation sous évier ?
La taille du mini-chauffe-eau dépend des besoins en eau chaude du lieu d'installation. Pour un seul évier, une capacité plus petite (2,5 à 4 gallons) peut suffire, tandis que pour plusieurs éviers ou une demande plus importante, une capacité plus grande peut être nécessaire.
Ai-je besoin d'un circuit électrique dédié pour le mini chauffe-eau à réservoir ?
Il est recommandé d'installer un circuit électrique dédié au mini-chauffe-eau à réservoir afin de garantir un fonctionnement sûr et efficace. Consultez un électricien qualifié pour évaluer les besoins électriques et installer le circuit approprié si nécessaire.
Comment fonctionne un mini chauffe-eau à réservoir et quels sont ses composants ?
Un mini-chauffe-eau à réservoir chauffe l'eau stockée dans un petit réservoir, généralement en acier émaillé ou en plastique résistant. Il est équipé d'un thermostat, d'un élément chauffant, d'une soupape de sécurité de température et de pression, ainsi que de raccords d'entrée et de sortie pour l'alimentation en eau.
Quelles tâches d’entretien sont nécessaires pour un mini chauffe-eau sous évier ?
L'entretien régulier comprend le rinçage du réservoir pour éliminer les dépôts, la vérification de la soupape de sécurité de température et de pression, ainsi que l'inspection des connexions électriques. Consultez les instructions du fabricant pour connaître les exigences d'entretien spécifiques.
En savoir plus sur : Comment entretenir votre mini chauffe-eau à réservoir

