Comment installer en toute sécurité un chauffe-eau électrique sans réservoir à l'extérieur
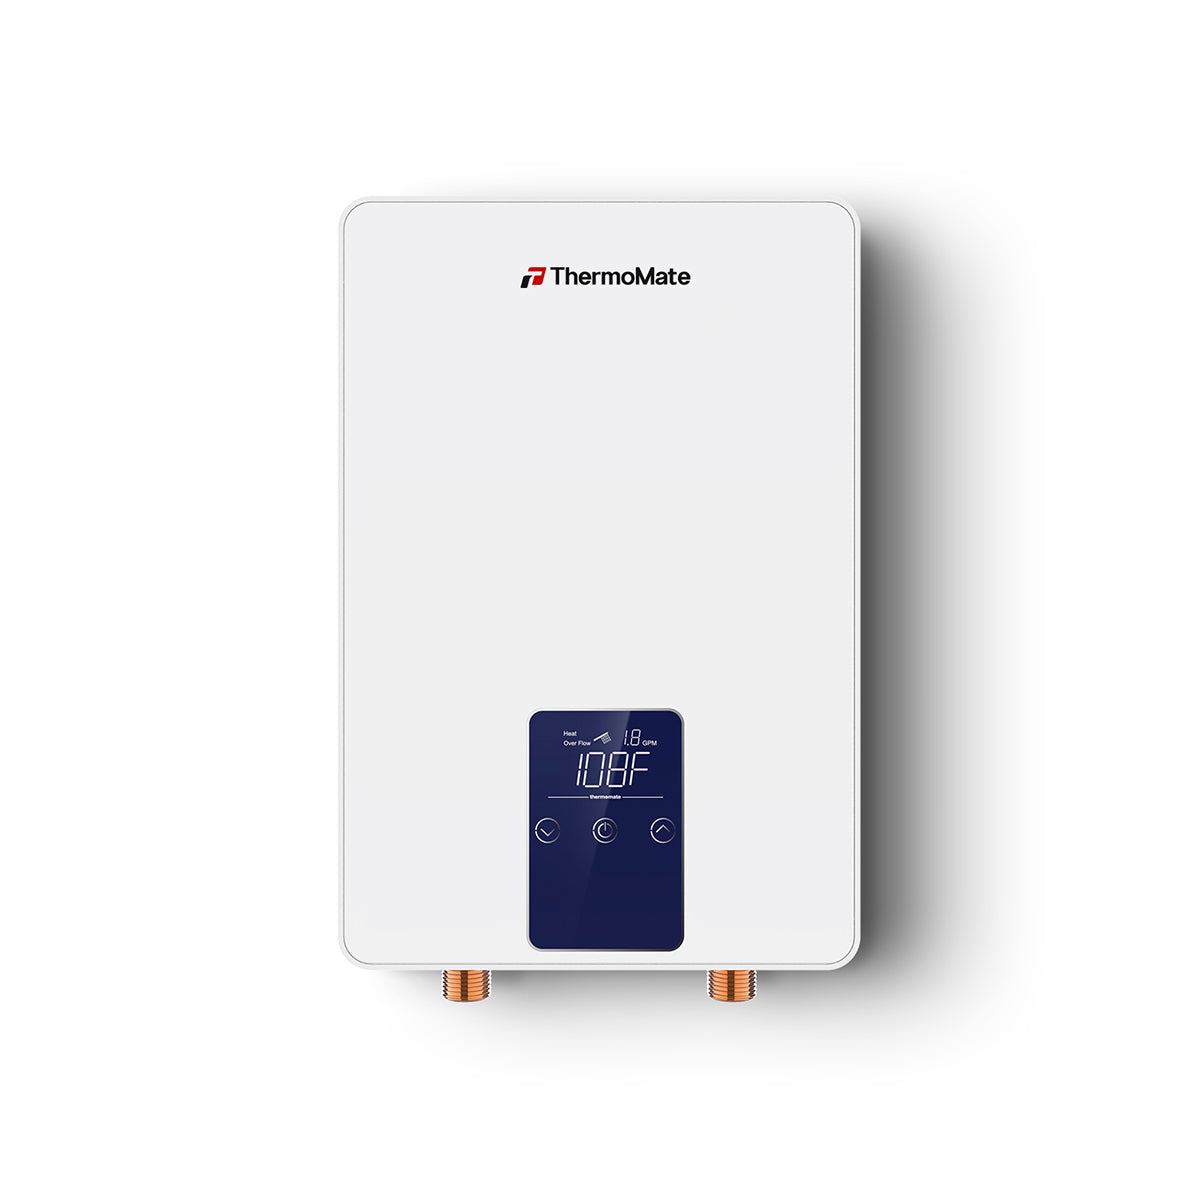
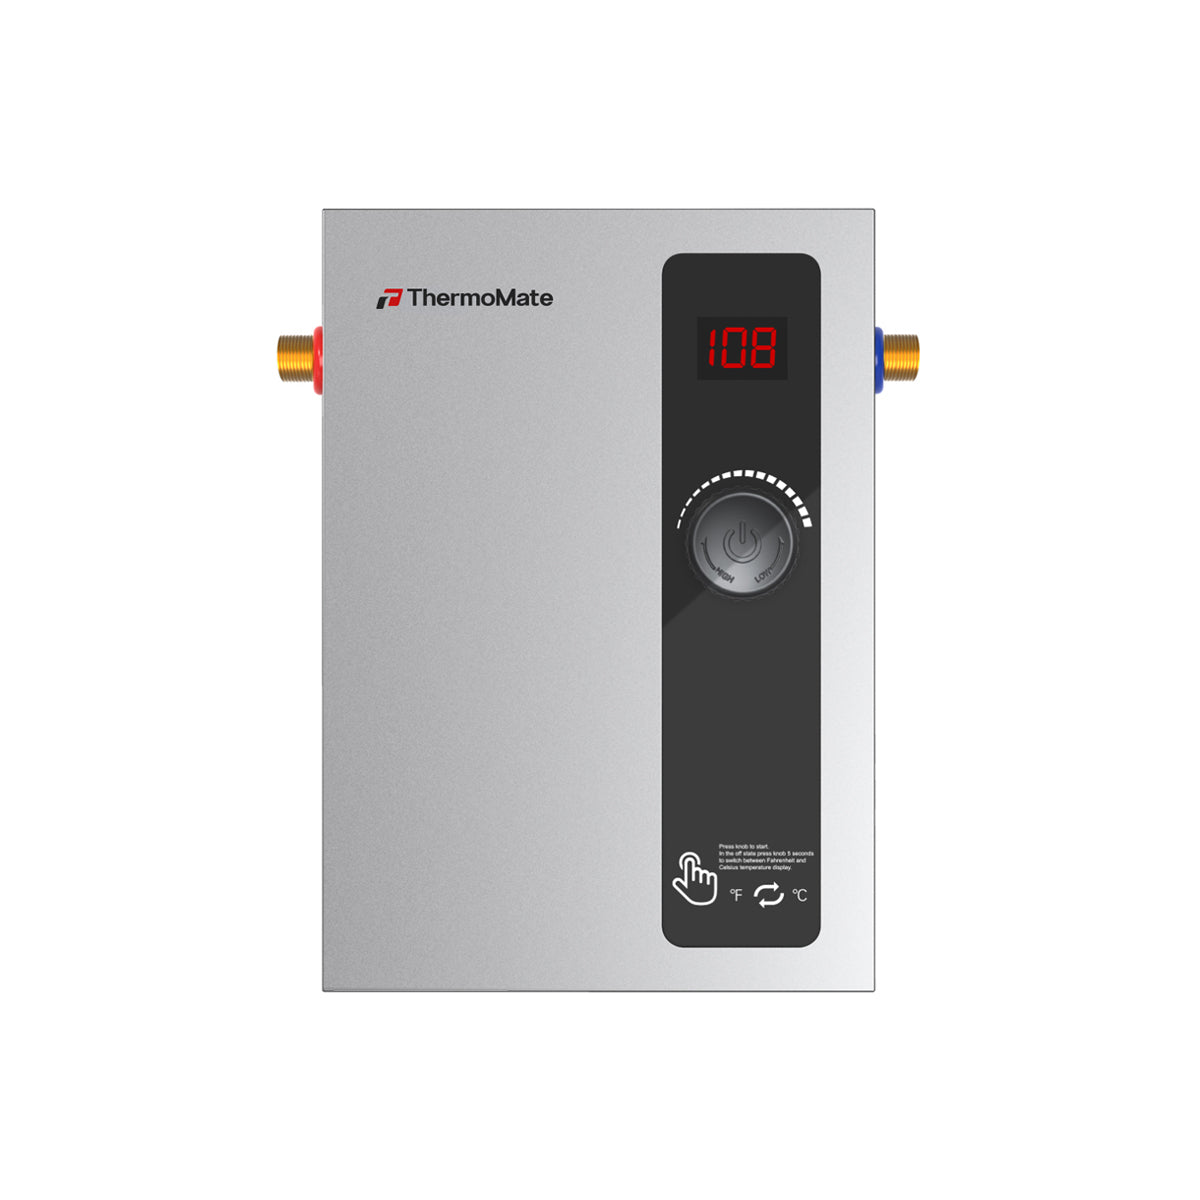
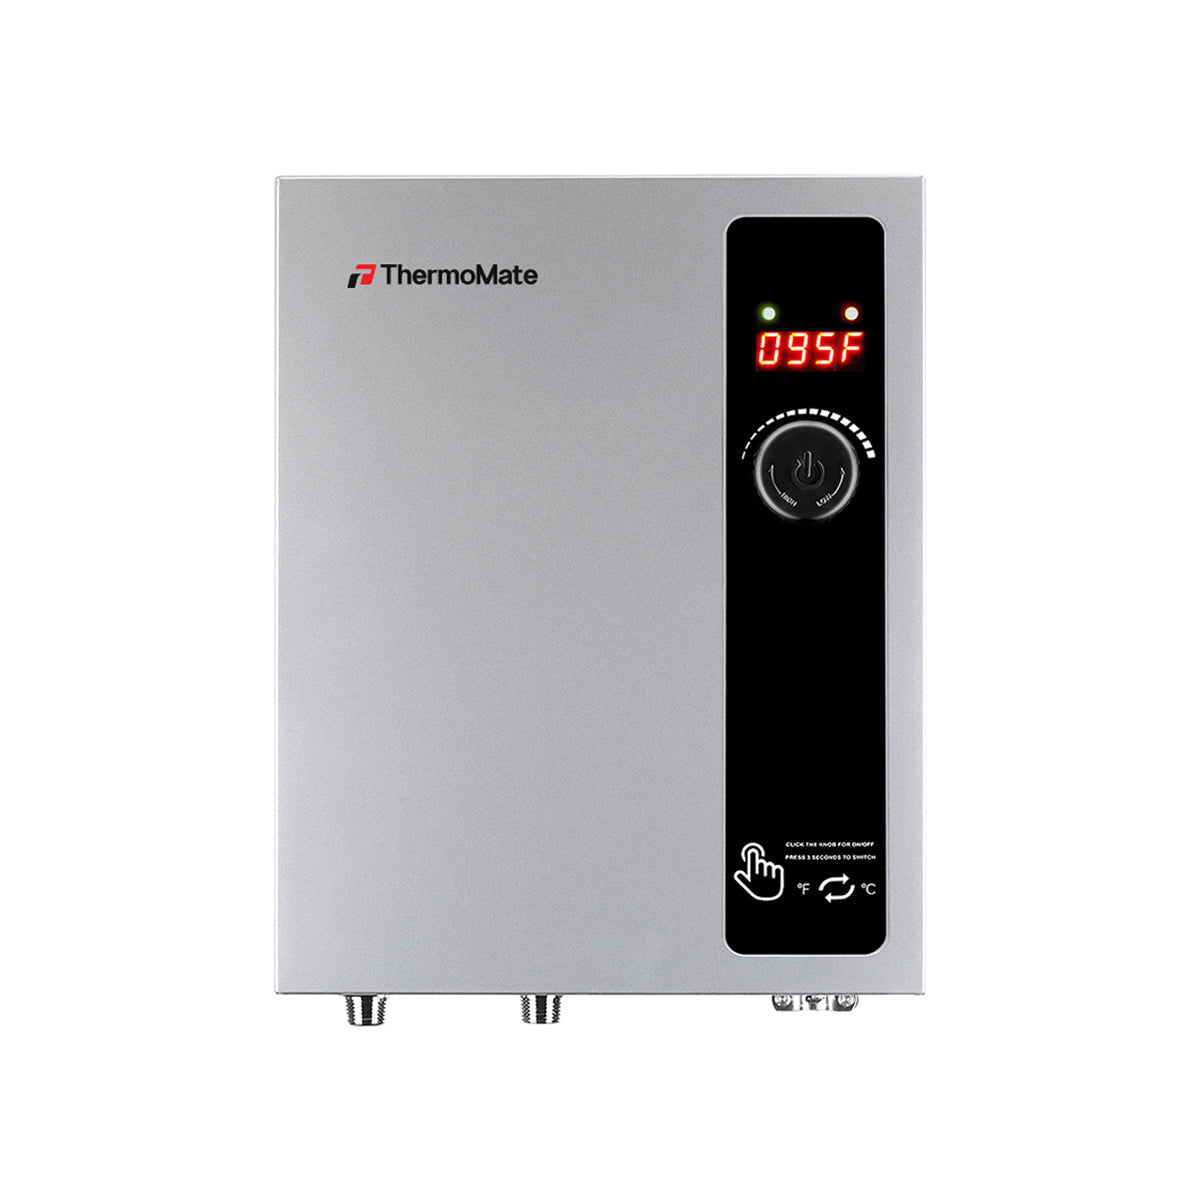
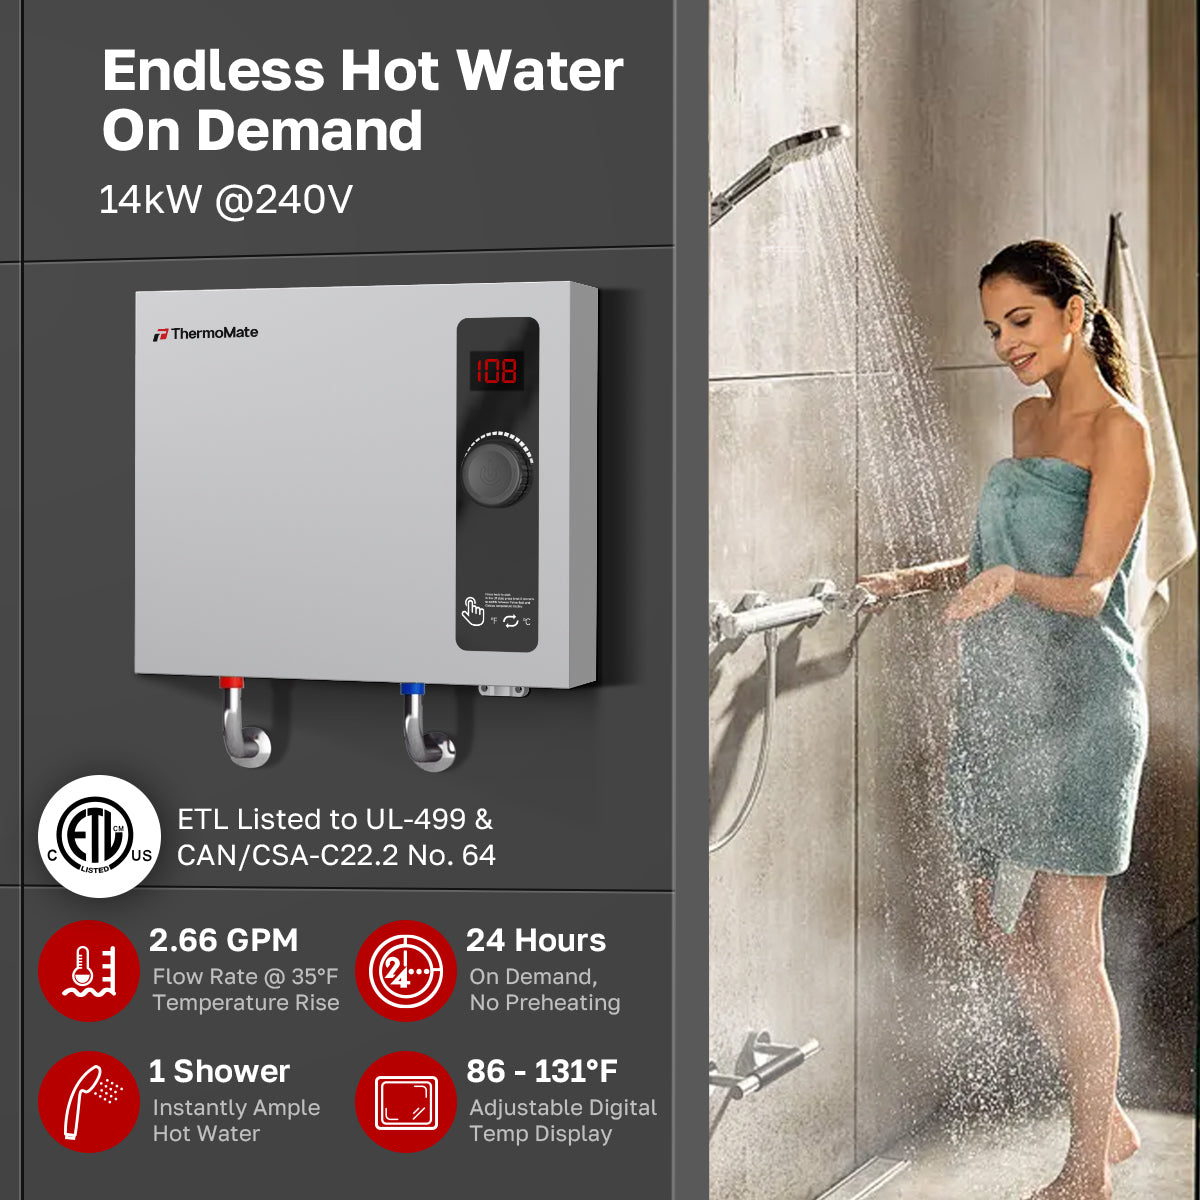
Pour produire de l'eau chaude à la demande , les chauffe- eau électriques instantanés sont une solution révolutionnaire. Économes en énergie, peu encombrants et parfaits pour une installation en extérieur, ils nécessitent une planification et une mise en œuvre minutieuses pour garantir sécurité et performances optimales. Dans ce guide, nous vous expliquerons les étapes d'une installation réussie et vous donnerons des conseils pour une installation fluide.
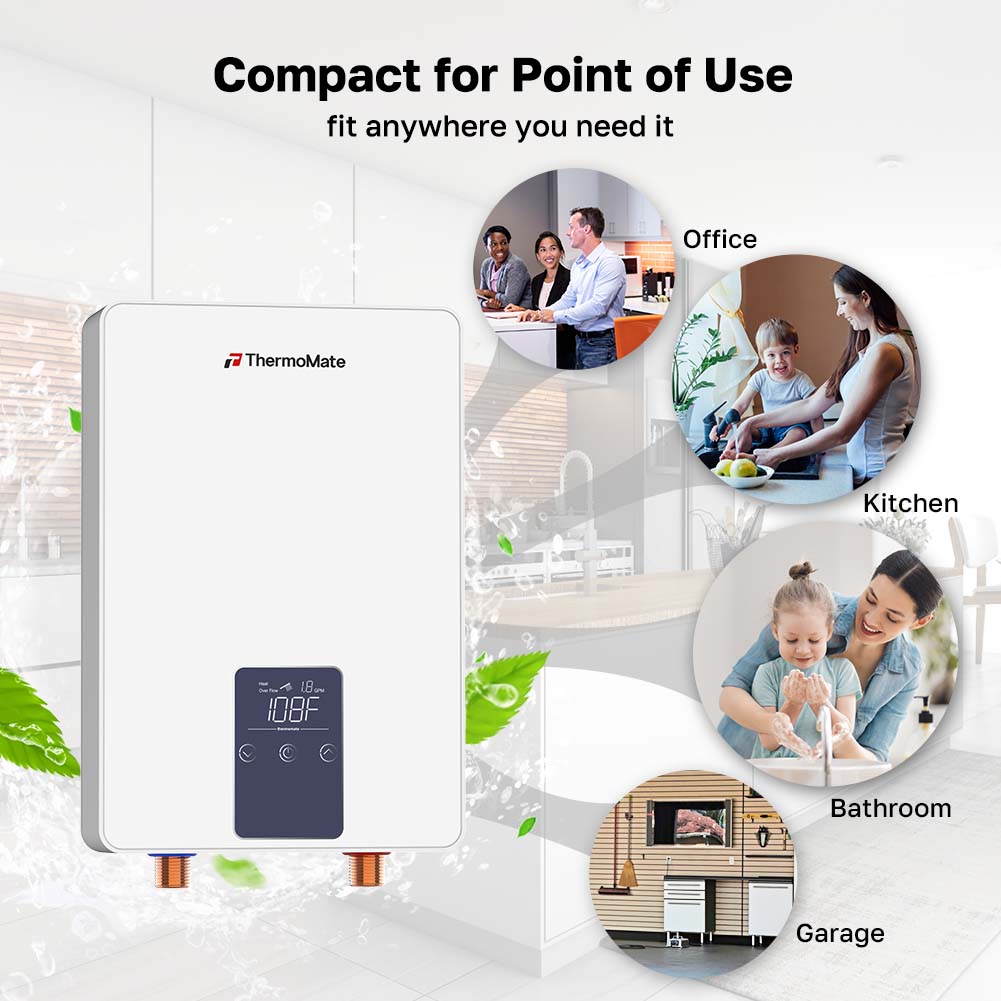
Pourquoi choisir un chauffe-eau électrique extérieur sans réservoir ?
L'installation extérieure d'un chauffe-eau électrique sans réservoir offre plusieurs avantages :
- Gain de place : Libère de l'espace intérieur en montant l'unité à l'extérieur.
- Ventilation : Pas besoin de systèmes de ventilation complexes, car les unités extérieures sont exposées à l'air libre.
- Commodité : Idéal pour les maisons avec un espace intérieur limité ou pour chauffer l'eau dans les espaces extérieurs comme les piscines ou les jardins.
Cependant, les installations extérieures présentent des défis particuliers, notamment l'exposition aux intempéries. Une installation correcte est essentielle pour garantir durabilité et efficacité.
Étapes pour une installation sûre d'un chauffe-eau électrique extérieur sans réservoir
1. Choisissez le bon emplacement
Sélectionnez un emplacement qui est :
- Protégé de la pluie directe, de la neige et des températures extrêmes (envisagez un boîtier résistant aux intempéries).
- À proximité de l'alimentation principale en eau et du panneau électrique pour minimiser les coûts d'installation.
- Facilement accessible pour l'entretien et les réparations.
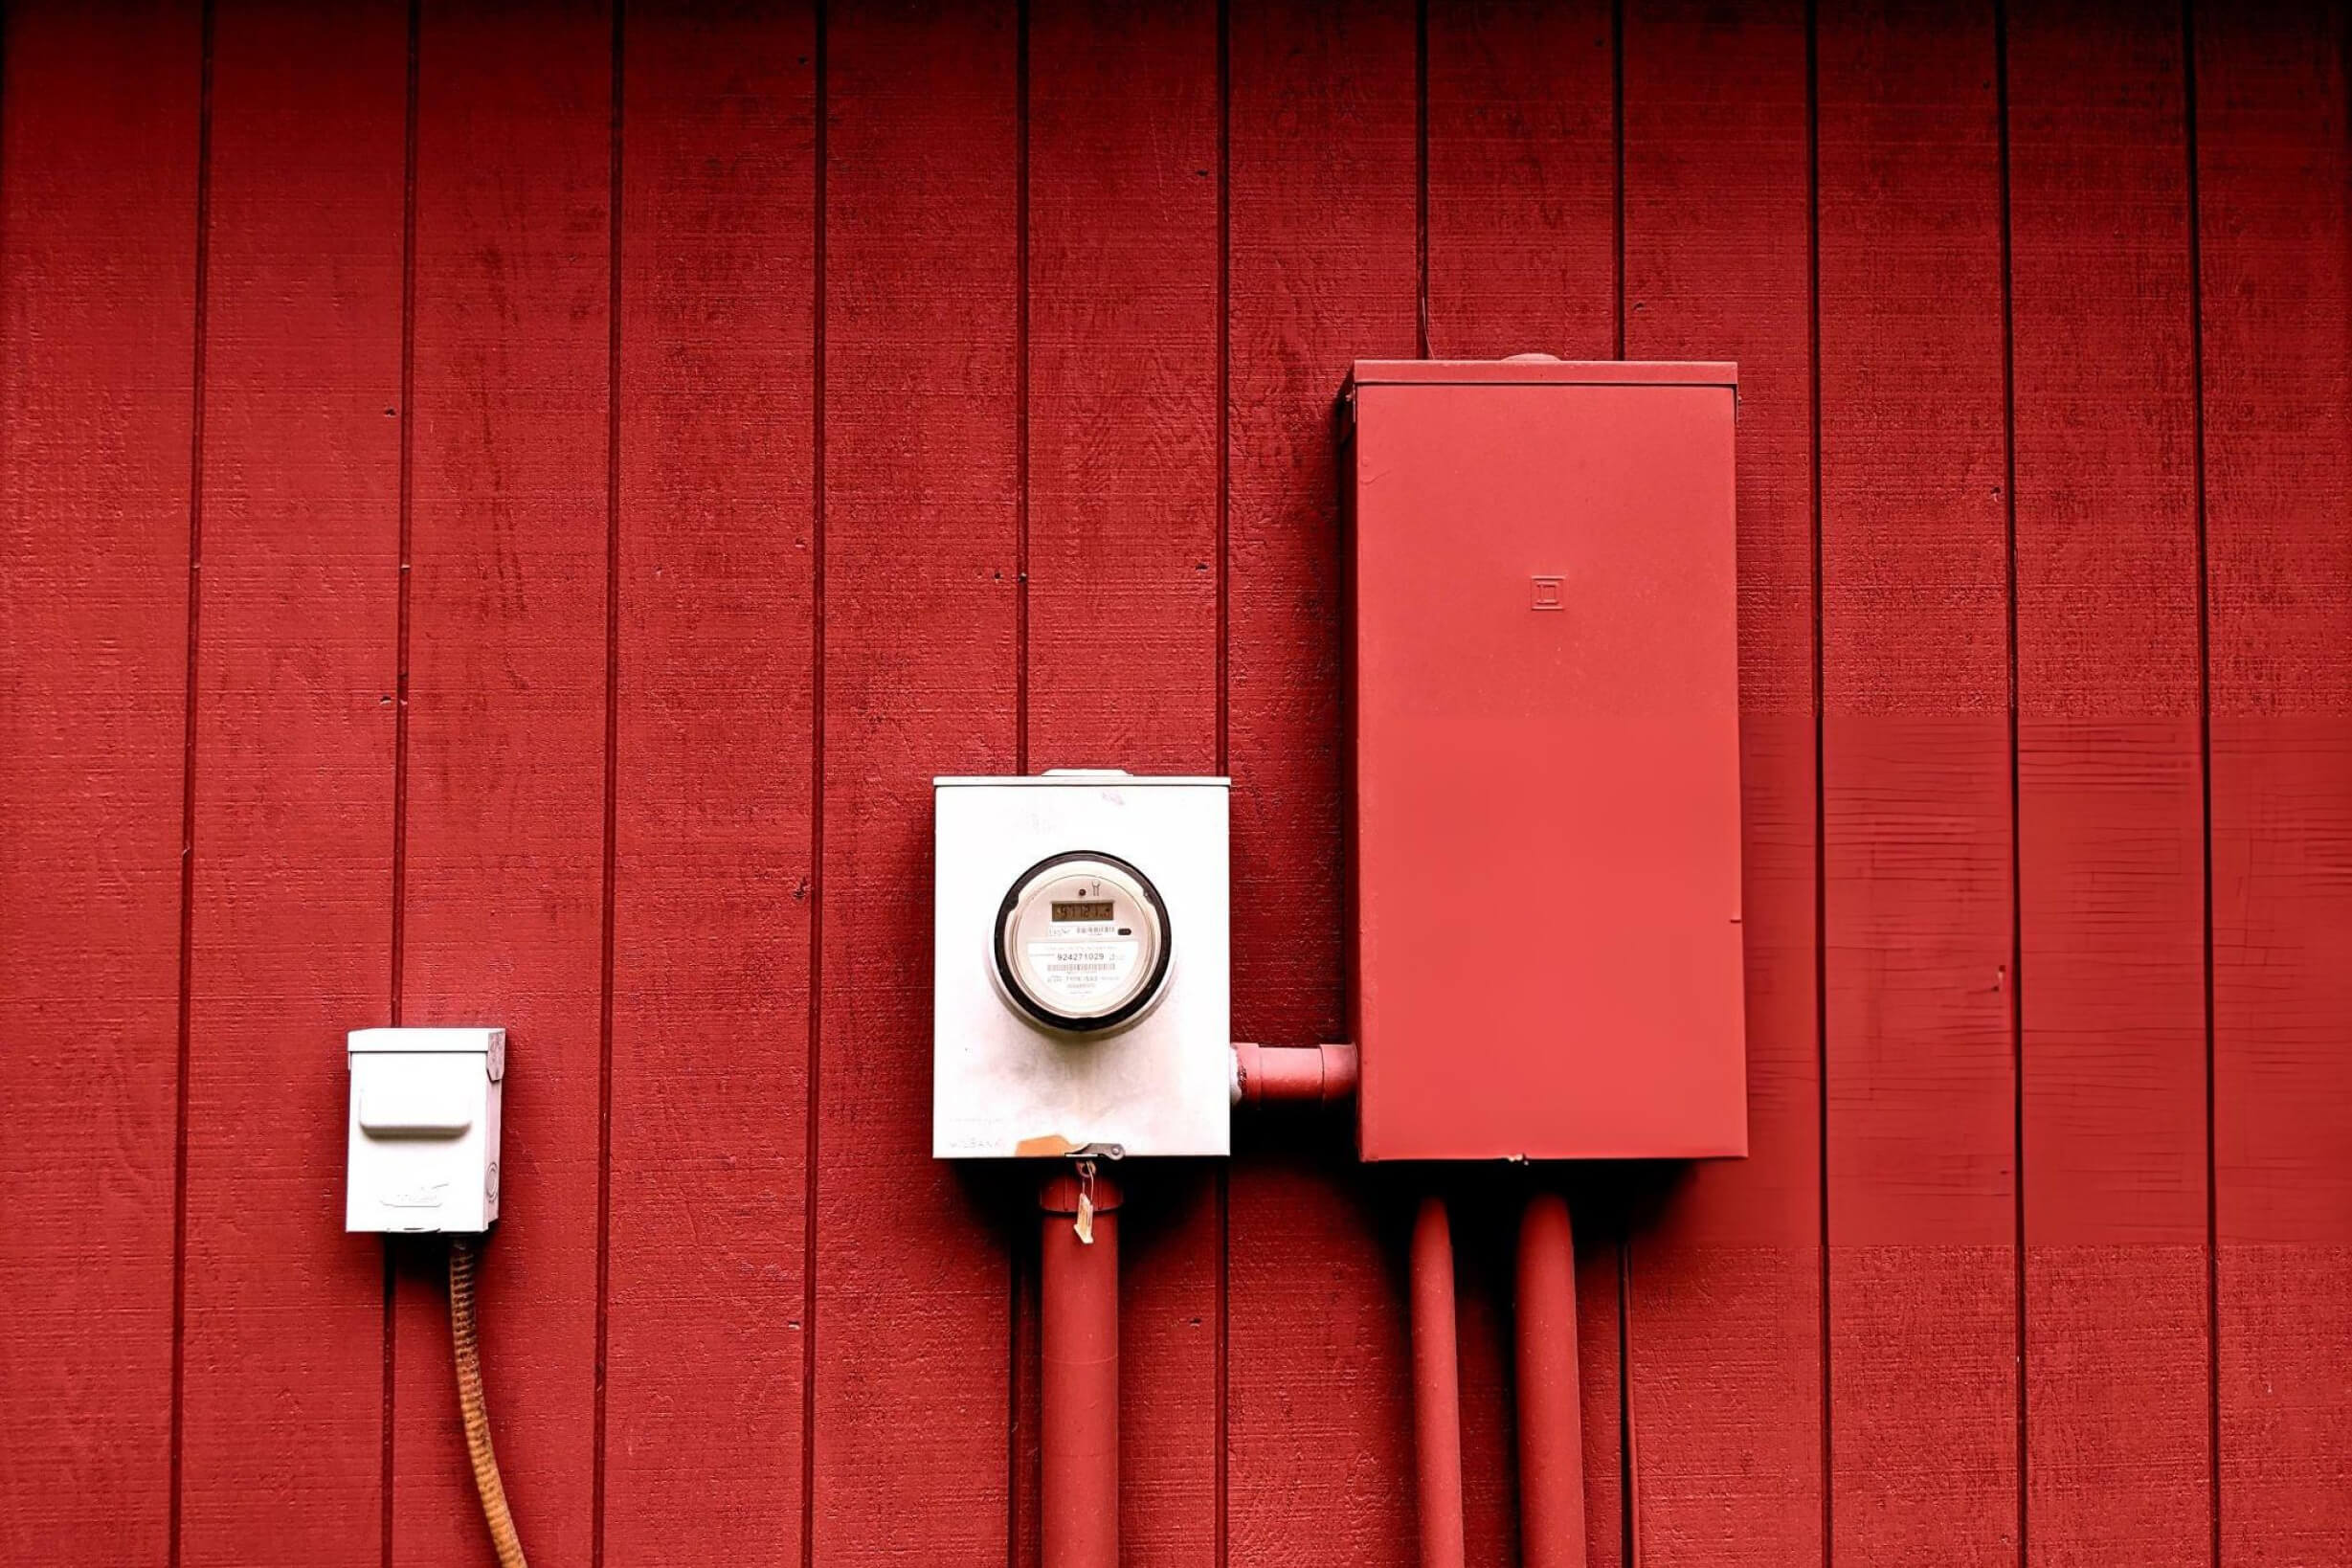
2. Vérifiez les exigences électriques
Les chauffe-eau électriques instantanés consomment beaucoup d'énergie. Assurez-vous que votre système électrique peut gérer cette charge :
- Vérifiez les exigences de tension et d’ampérage de votre appareil.
- Installez un disjoncteur dédié pour éviter de surcharger votre panneau électrique.
- Engagez un électricien agréé pour gérer le câblage et les connexions pour des raisons de sécurité.
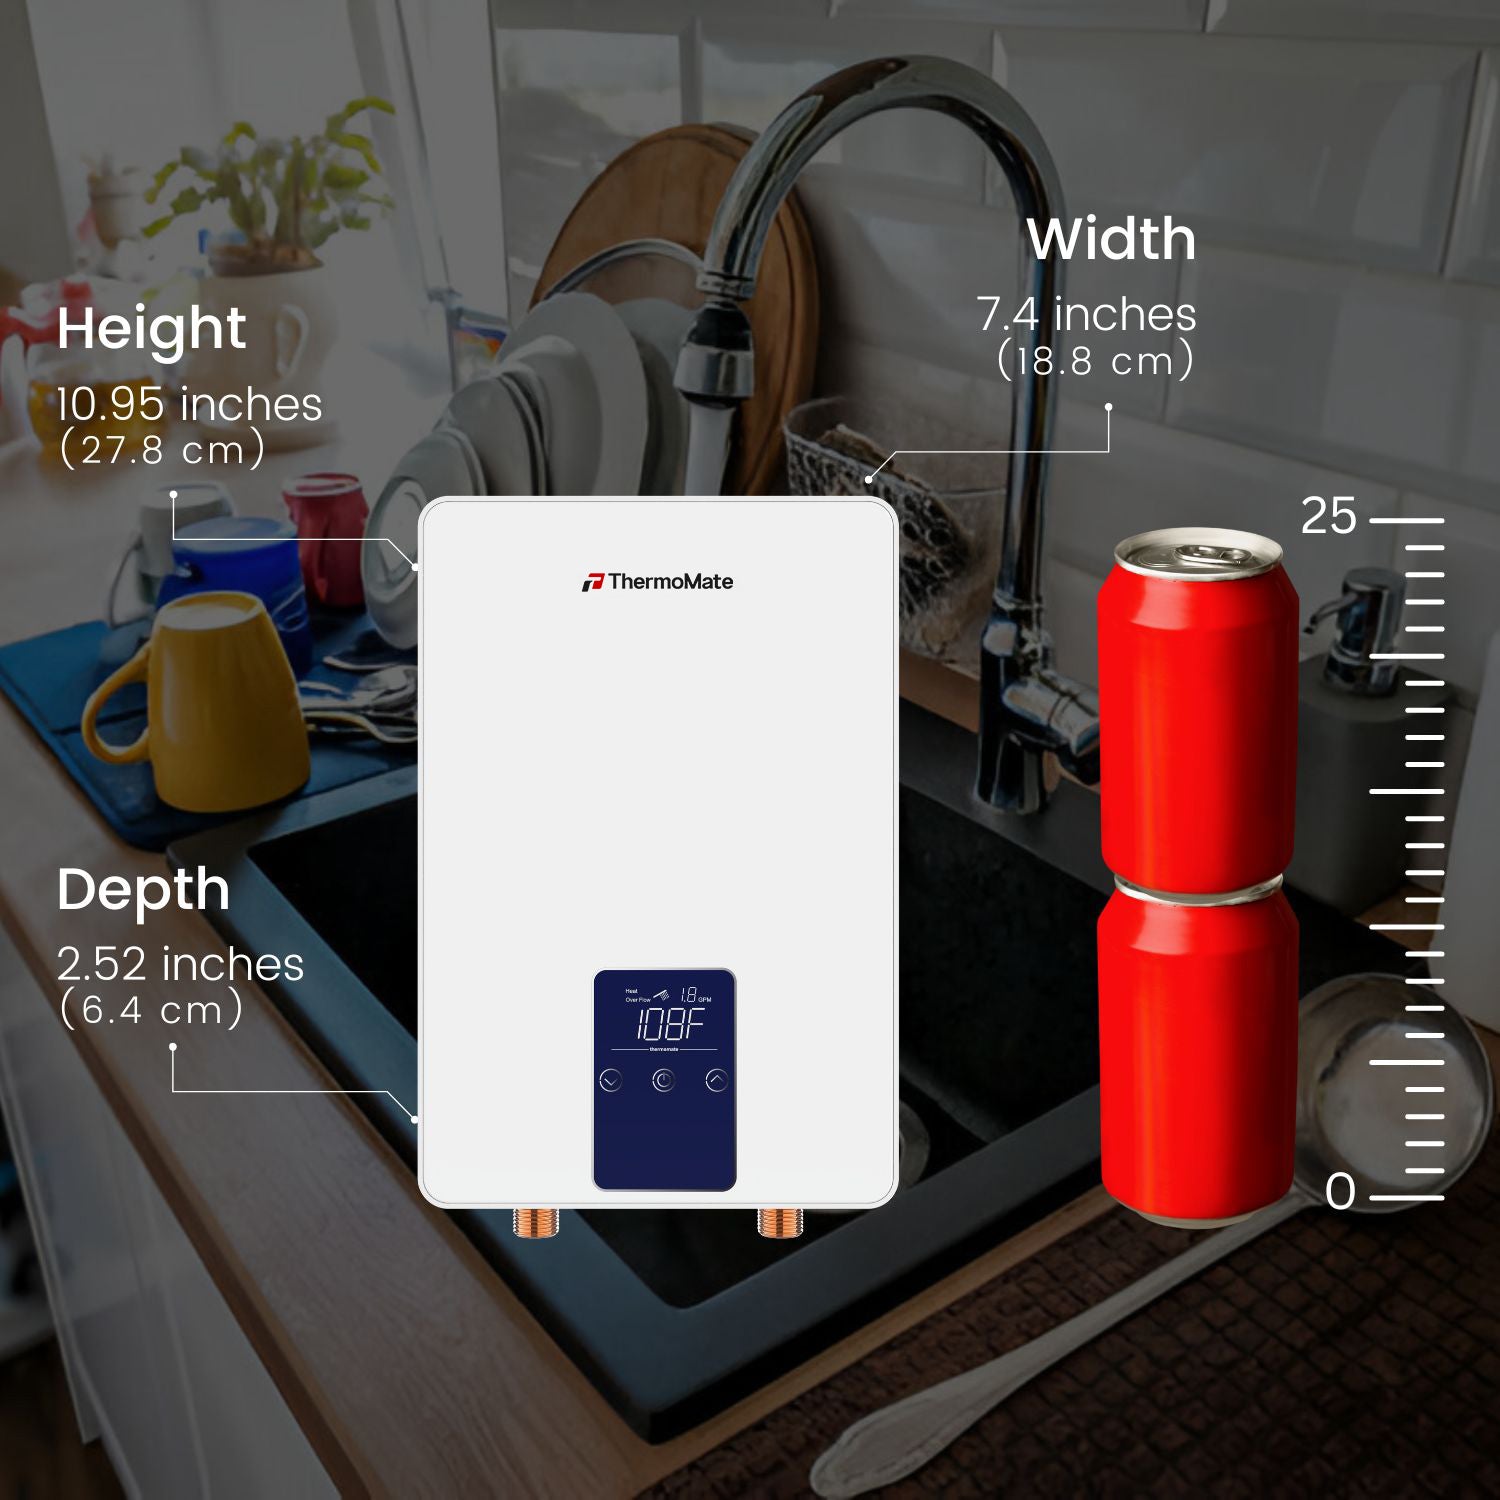
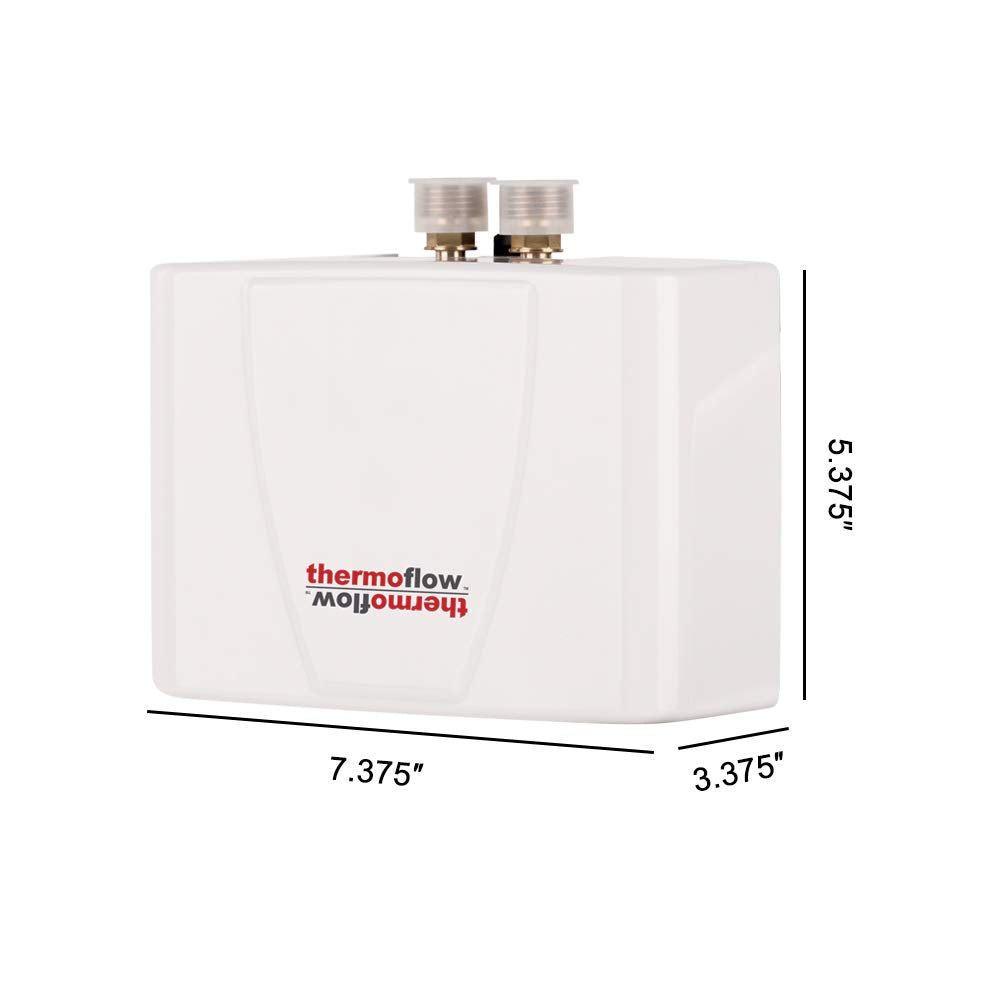
3. Préparez la surface de montage
- Utilisez une surface solide et plane pour le montage, comme un mur extérieur.
- Assurez-vous que le mur peut supporter le poids de l’unité.
- Suivez les directives du fabricant concernant la hauteur de montage et le dégagement.
4. Installer les raccordements d'eau
- Connectez l'appareil à l'alimentation en eau de votre maison à l'aide de tuyaux isolés de haute qualité pour éviter le gel dans les climats plus froids.
- Installez des vannes d’arrêt pour un entretien facile.
- Envisagez d’ajouter un adoucisseur d’eau si vous avez de l’eau dure pour prolonger la durée de vie de votre appareil.
5. Protégez l'appareil des intempéries
- Utilisez un couvercle ou un boîtier résistant aux intempéries pour protéger l’appareil de la pluie, de la neige et des débris.
- Assurez un drainage adéquat pour éviter que l’eau ne s’accumule autour de l’appareil.
6. Testez le système
- Ouvrez l’alimentation en eau et vérifiez s’il y a des fuites.
- Mettez l’appareil sous tension et testez la fonctionnalité d’eau chaude à la demande .
- Ajustez les réglages de température selon vos besoins.
Conseils pour l'entretien de votre chauffe-eau électrique extérieur sans réservoir
- Inspections régulières : Vérifiez les fuites, la corrosion ou les dommages causés par l’exposition aux intempéries.
- Détartrage : Nettoyez l'appareil périodiquement pour éliminer l'accumulation de minéraux, en particulier dans les zones où l'eau est dure.
- Précautions hivernales : Dans les climats glacials, installez des kits de protection contre le gel ou vidangez l'appareil en cas de froid extrême.
Pourquoi faire confiance à Thermomate pour vos besoins en chauffe-eau électrique sans réservoir ?
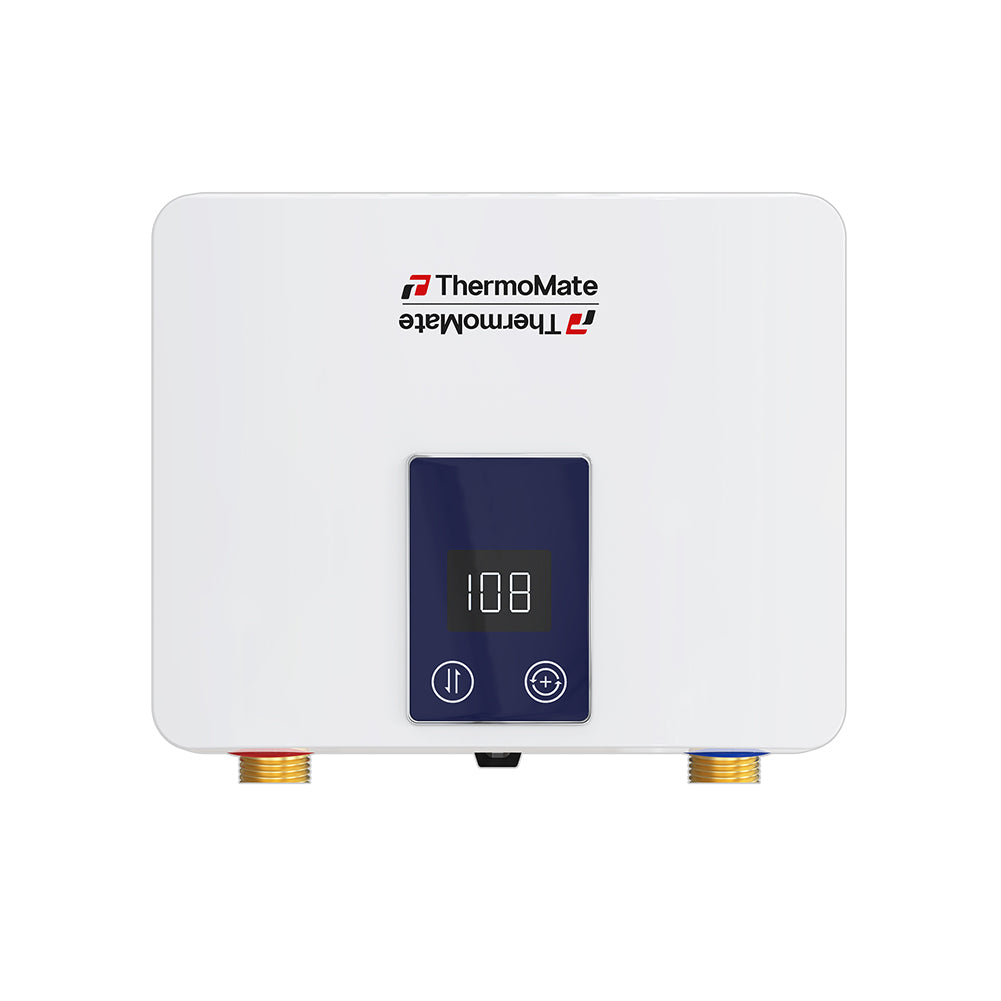
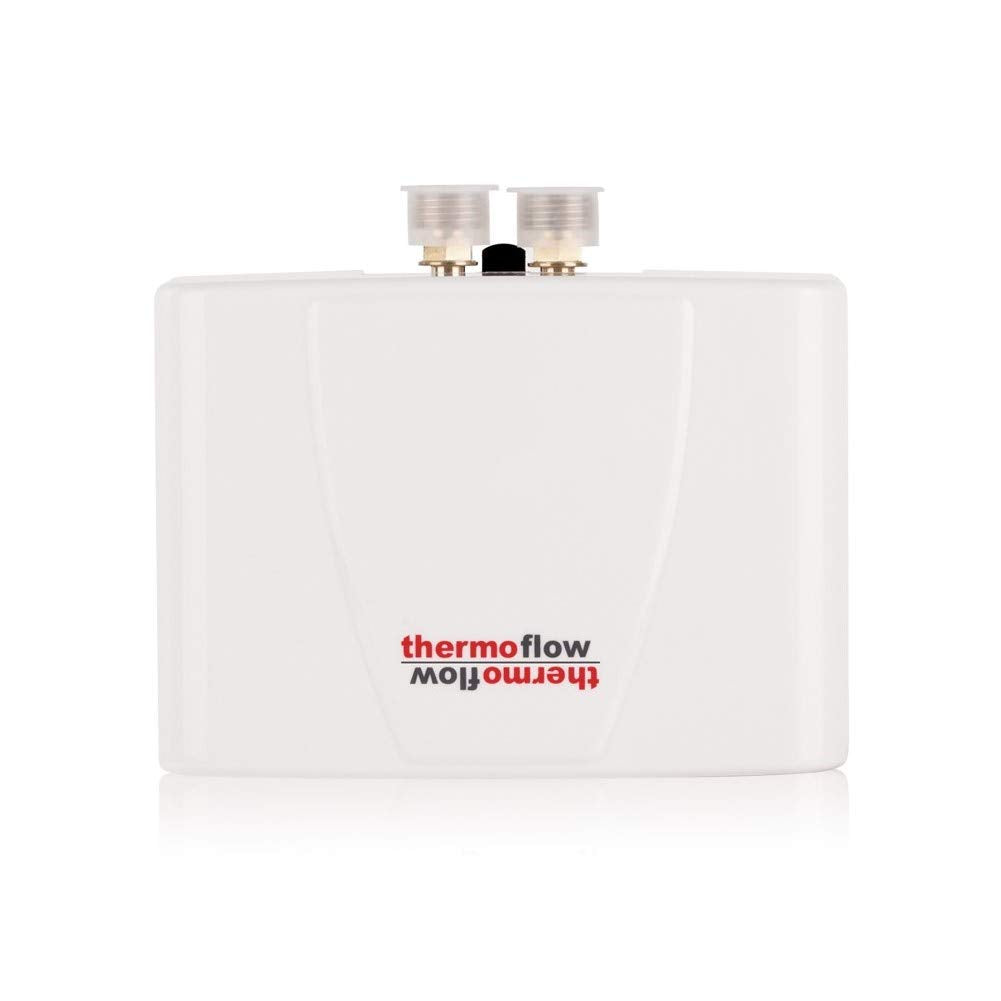
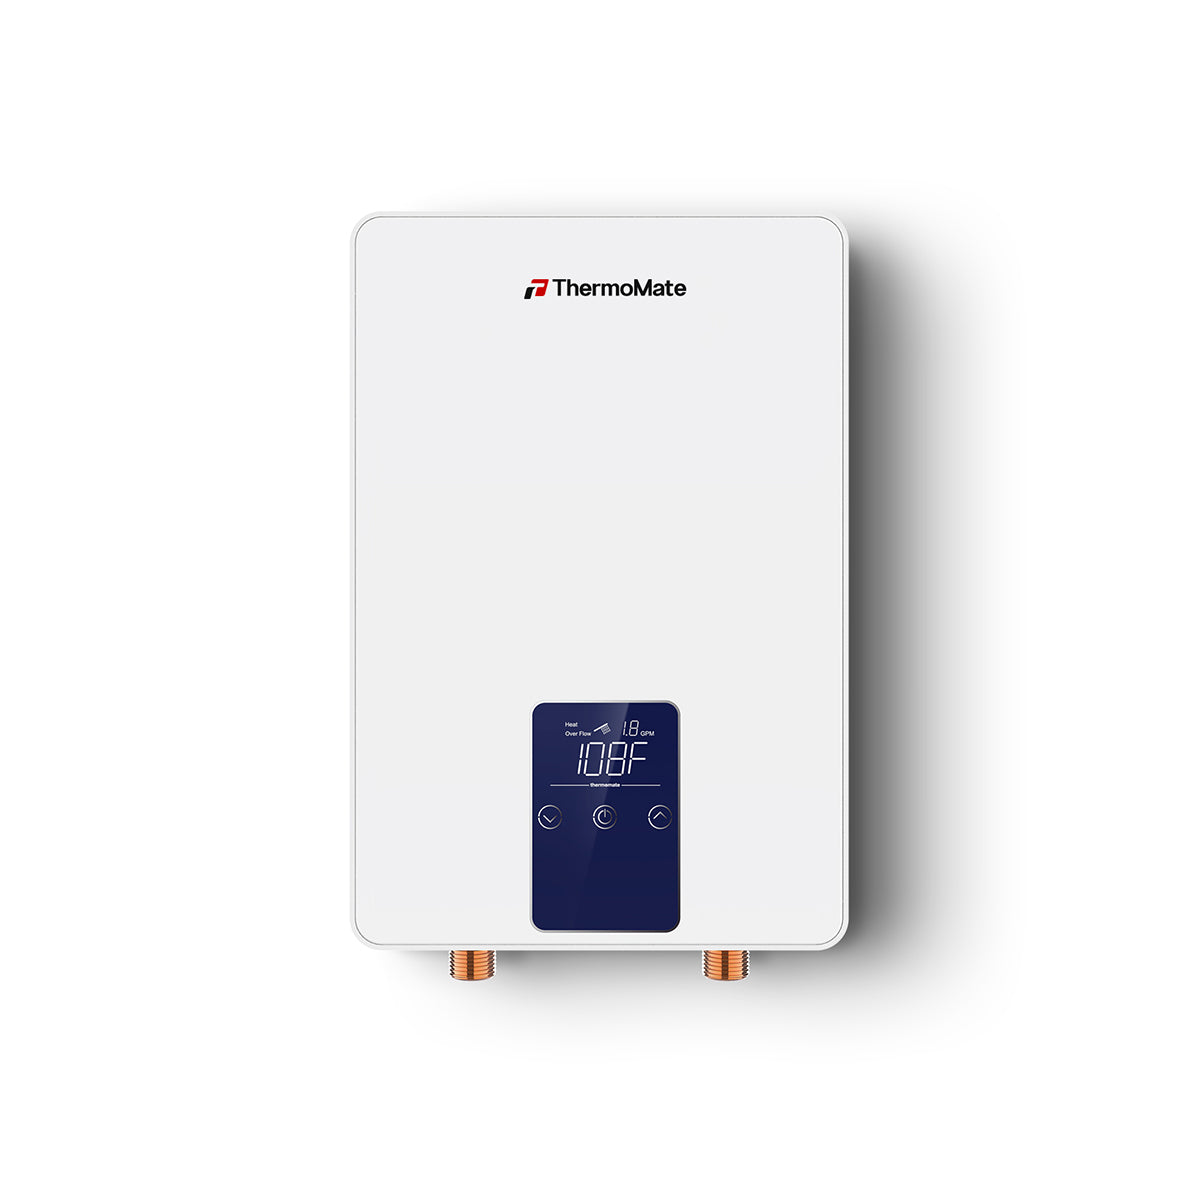
Chez Thermomate , nous sommes spécialisés dans les chauffe-eau électriques instantanés de haute qualité, conçus pour une utilisation intérieure et extérieure. Nos appareils sont conçus pour résister aux intempéries et fournir de l'eau chaude fiable à la demande . Que vous recherchiez une installation extérieure pour votre chauffe-eau électrique instantané ou que vous ayez besoin de conseils d'experts, nous avons ce qu'il vous faut.
Conclusion
Installer un chauffe-eau électrique instantané à l'extérieur est une solution judicieuse pour gagner de la place et garantir une production d'eau chaude efficace. En suivant les étapes ci-dessus, vous garantirez une installation sûre et réussie. Pour plus de conseils et découvrir les meilleurs produits, rendez-vous sur Thermomate.com. aujourd'hui!